Art with Ms. Djordjevic
  • Home
  • Contact
  • Classes
    • Photo I
    • Photo II
    • Photo III :: Semester I
    • Photo III :: Semester II
    • Photo IV :: Advanced Photo
  • Resources
  • Home
  • Contact
  • Classes
    • Photo I
    • Photo II
    • Photo III :: Semester I
    • Photo III :: Semester II
    • Photo IV :: Advanced Photo
  • Resources

Photo I

This class explores the basics of traditional black and white photographic printing as well as digital photographic processes using Adobe Photoshop. We will examine both the aesthetic and technical aspects of the photographic process through several method based assignments. The uses of metering, lighting, composition, and technical aspects of the camera will be reviewed during class to give students a basic understanding of the art of photography.
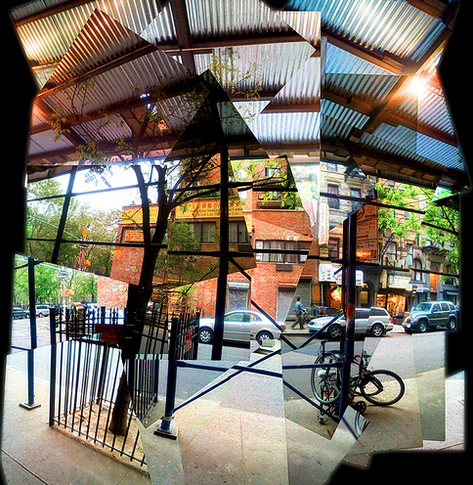
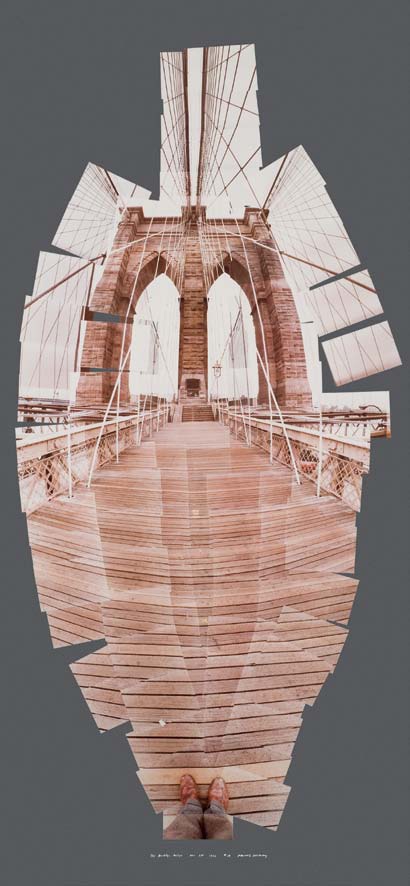
Photo i Course expectations

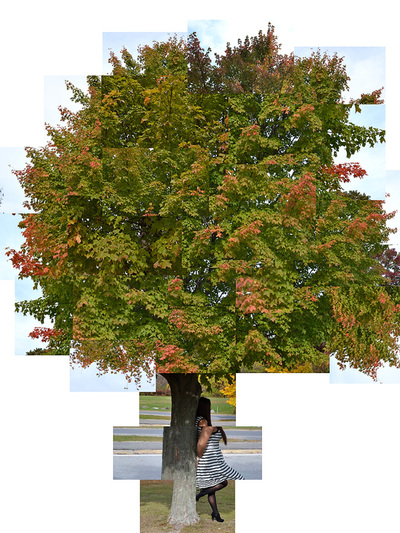
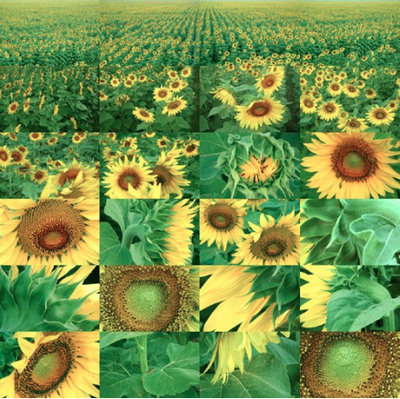
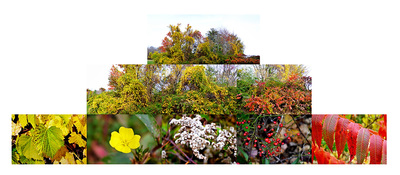
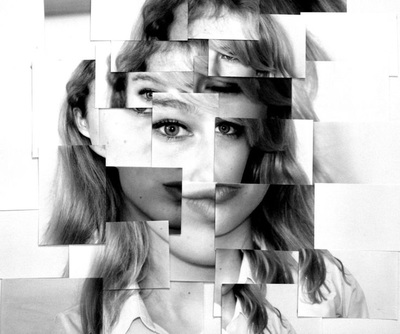
Assemblage Panorama

5/6/2019

 
Picture
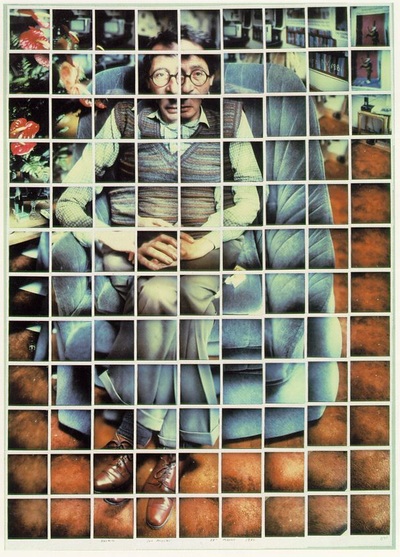
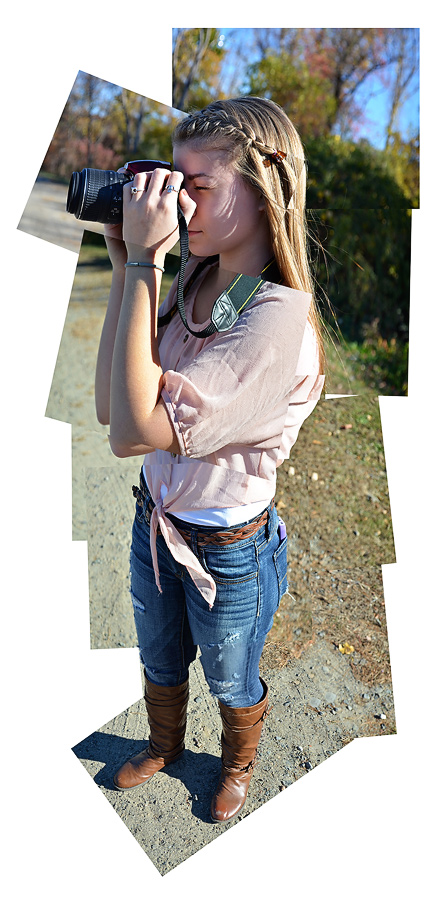
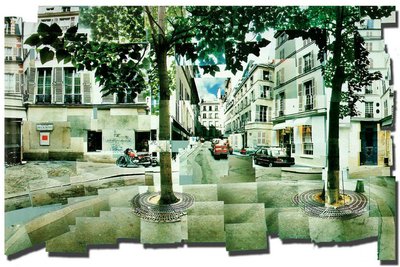
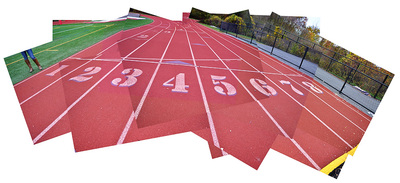
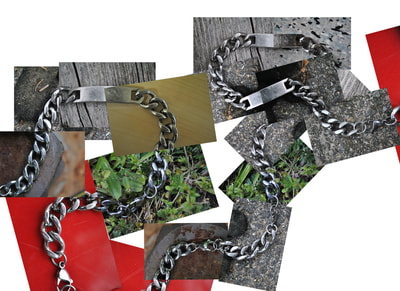
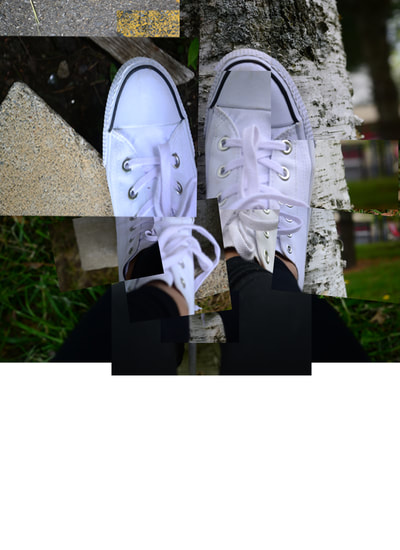
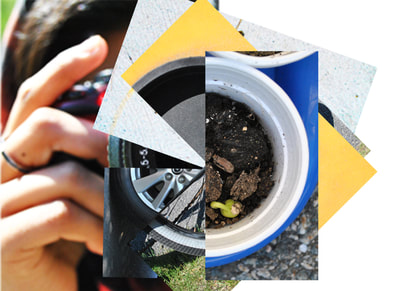
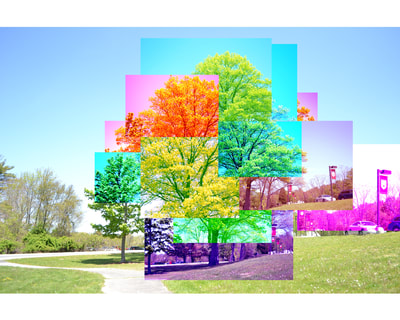
A panorama usually refers to a long photograph. To assemble something means to put it together from various pieces. So for this project you are going to be assembling a panorama image. However, a panorama—in our project—can take on many different shapes besides the usual long image. Think about vertical images or images that follow a particular shape. This can be any subject (i.e. a long hallway, a fire hose, a portrait of a person, a flag pole, etc.). Think of how to create a panorama of your subject because often the subject of your photograph is going to determine the shape of your panorama. Your panorama must have 12 or more frames in it and they cannot overlap so that one image is completely hiding (or mostly hiding) the image beneath it.


Artists to consider: Matthew Chase-Daniel, Rachelle Dermer, David Hockney, Pablo Picasso

Assignment:
You must photograph 50 exposures of panoramas. Since each panorama requires AT LEAST 12 frames, I suggest that you shoot 2 different objects or scenes with 20/25 frames apiece. This will ensure that you are able to get enough good images for your panorama. You are responsible for lining up the frames and overlapping them so that when printed, you can assemble them to make an image that makes sense to your viewer. Your subject itself does not need to be panoramic; you need to make it a panorama.   

You will be passing in two edited digital "panoramas" on google drive and choosing your best one to print—you will be printing your favorite panorama images as small 2x3 photos and cutting them out and pasting them together using a rubber cement mounting technique. 

Steps:
  • Look around you. How can you make your surrounding a panoramic image? What creates an interesting shape when photographed with numerous frames?  
  • Once you choose something, think about how to make it more interesting. If you photograph a flag pole, is it more interesting if it is long and skinny or if all of the background information is included? Or with a fire hose, what if you follow the shape of the hose and make it swirl into the center? How does this make it more interesting than just photographing every frame so that the hose is straight within it? 

Objective
: Use the camera in a non-traditional manner to assemble a photograph made up of several different images/parts, Harkening back to ideas of cubism and collage.  


Resources: Assemblage Panorama Pinterest board

Comments are closed.

    Enter your email address:

    Delivered by FeedBurner

    Archives

    February 2022
    November 2021
    October 2021
    September 2021
    June 2021
    April 2021
    March 2021
    February 2021
    January 2021
    December 2020
    March 2020
    December 2019
    November 2019
    October 2019
    May 2019
    April 2019
    March 2019
    February 2019
    January 2019
    September 2018
    September 2016
    April 2015
    September 2014

    Categories

    All

    RSS Feed

Proudly powered by Weebly