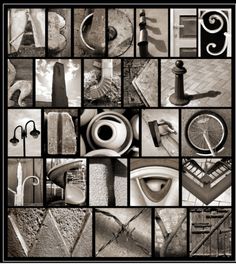
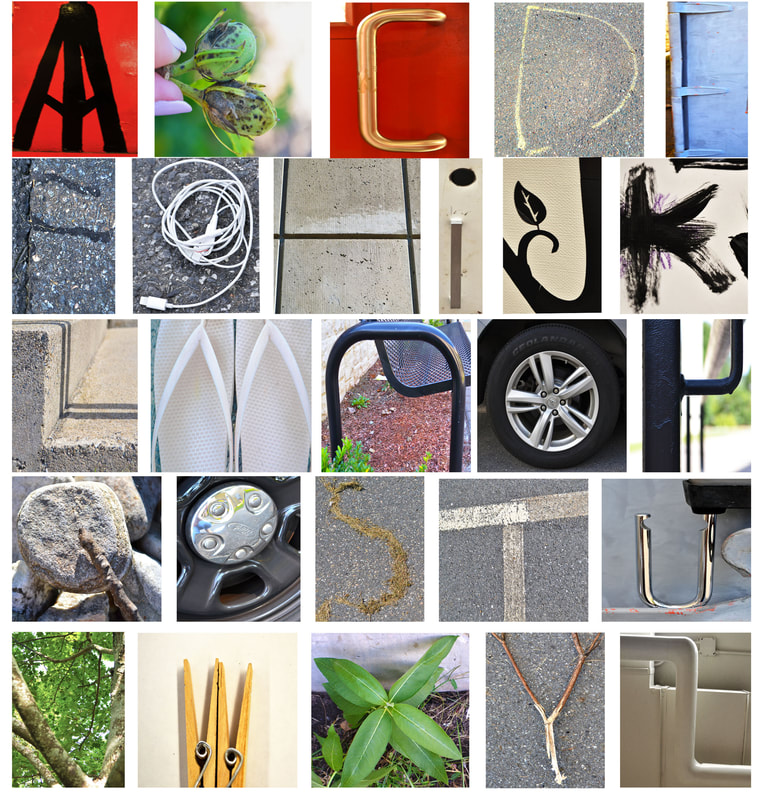
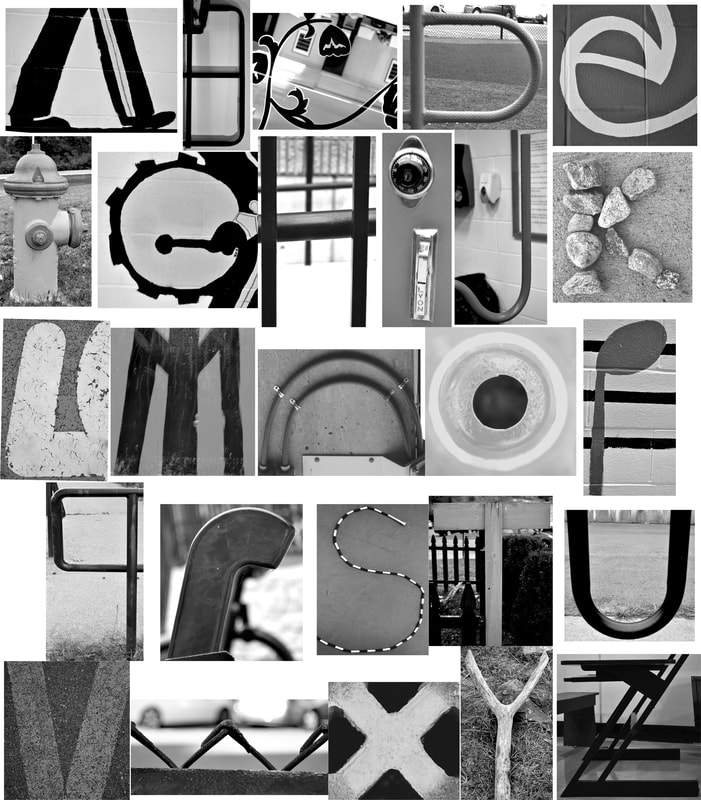
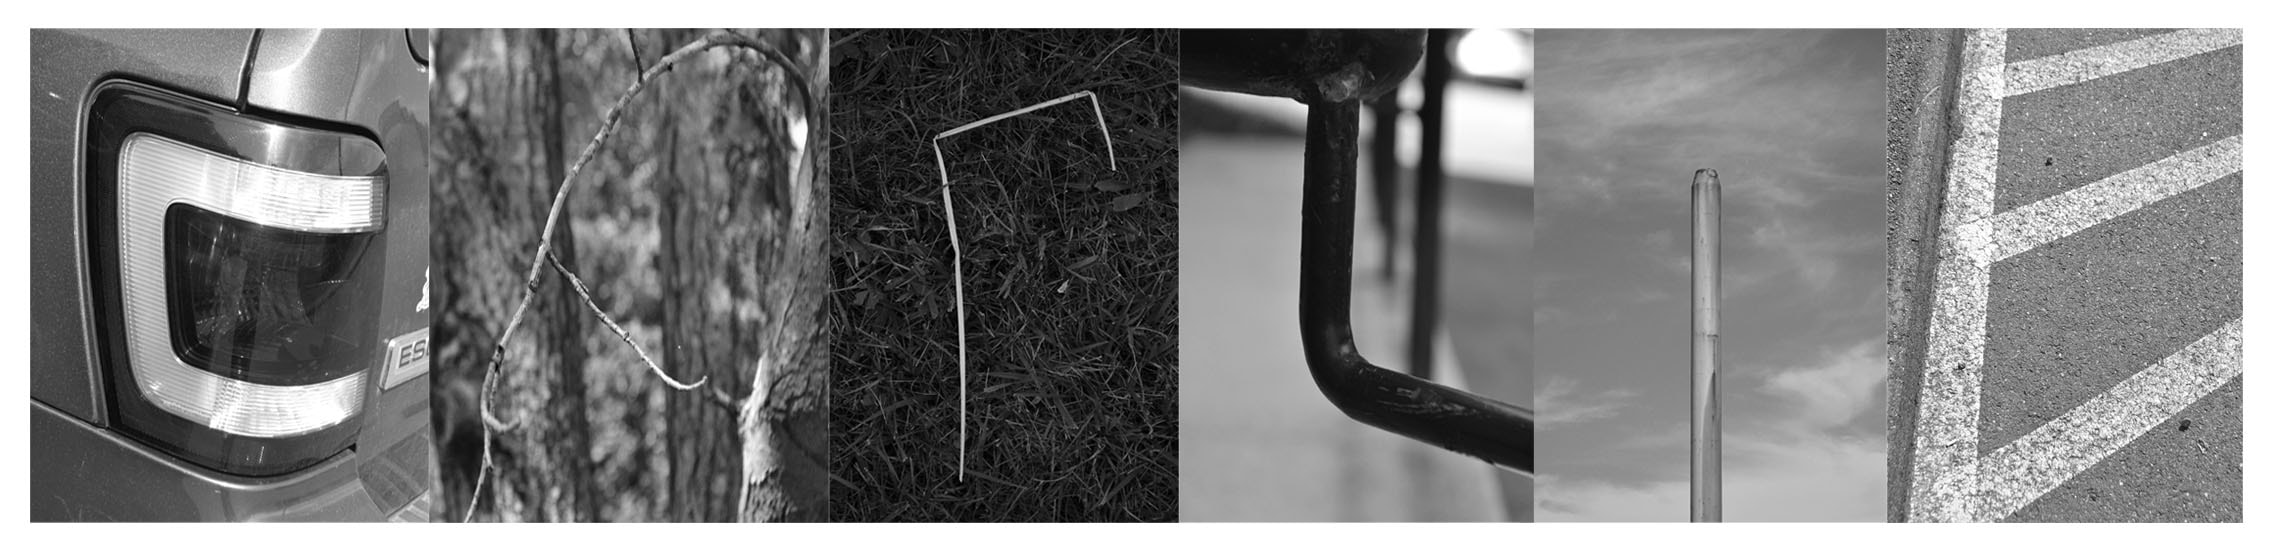
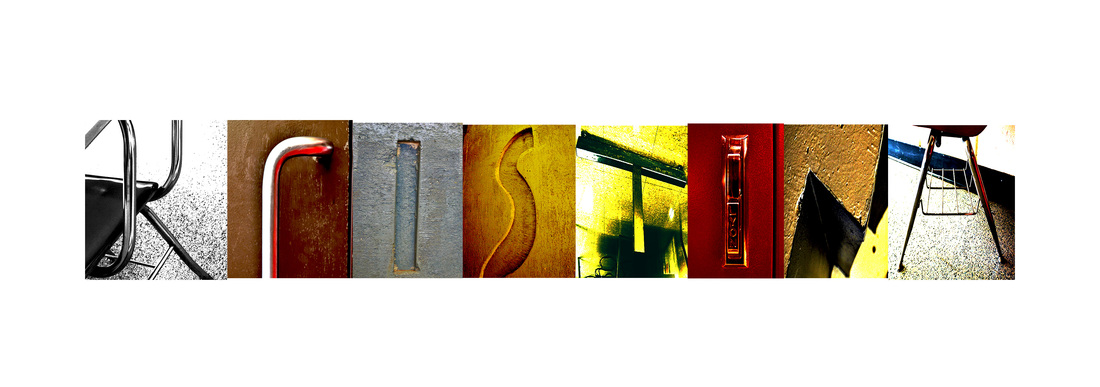
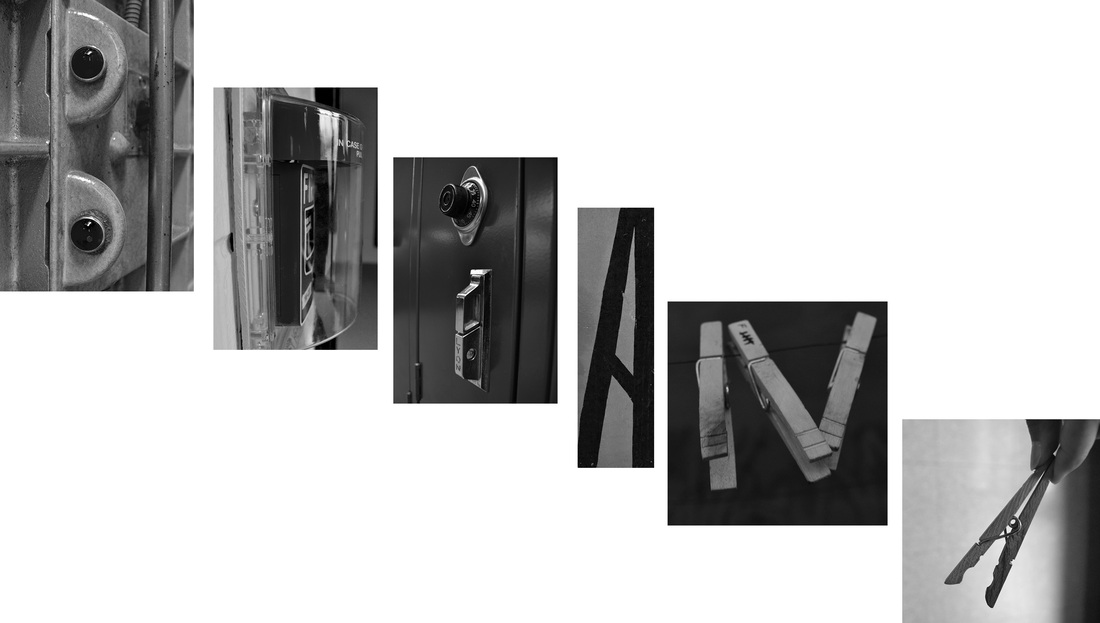
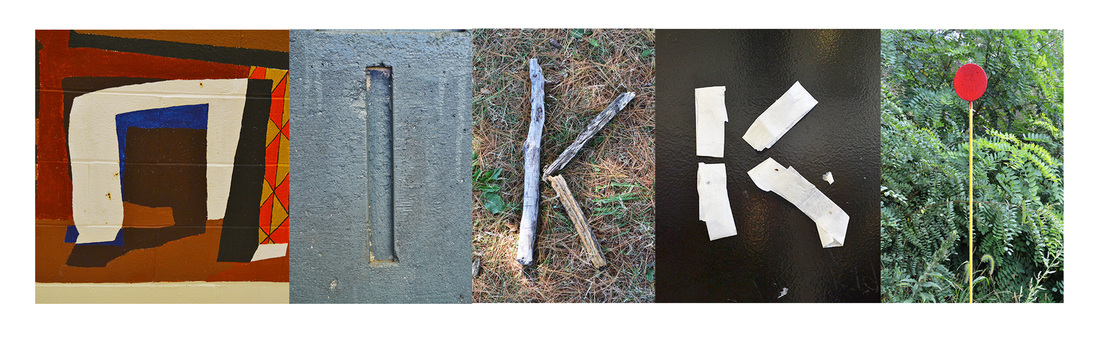
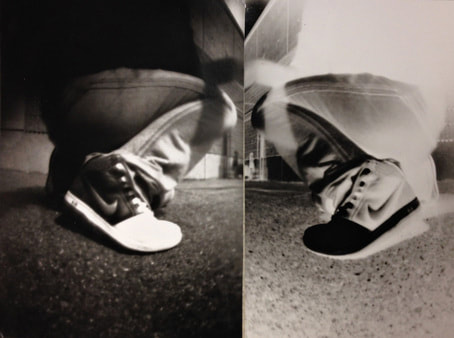
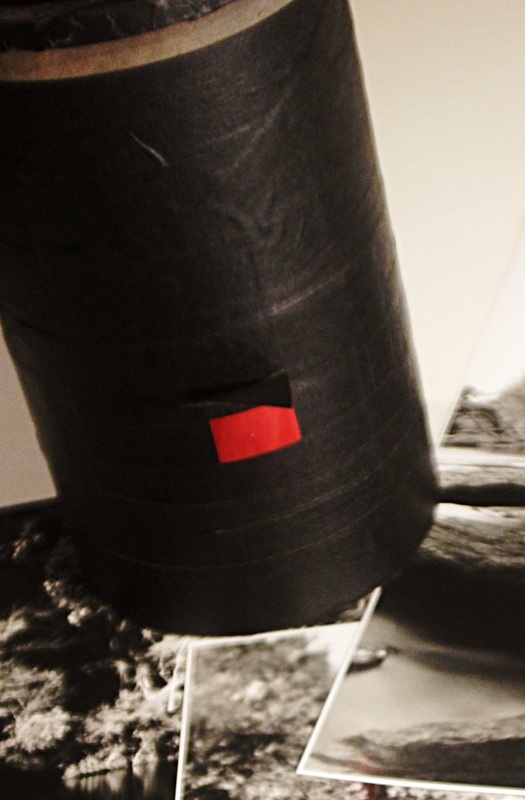
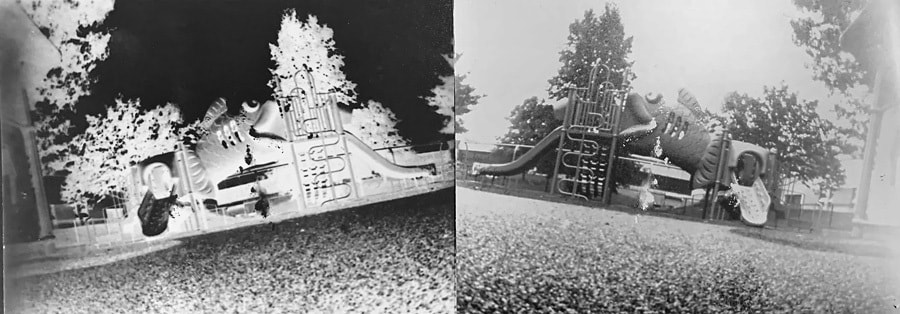
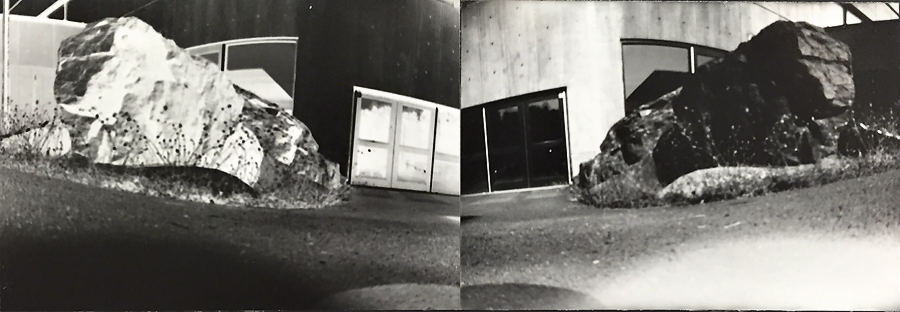
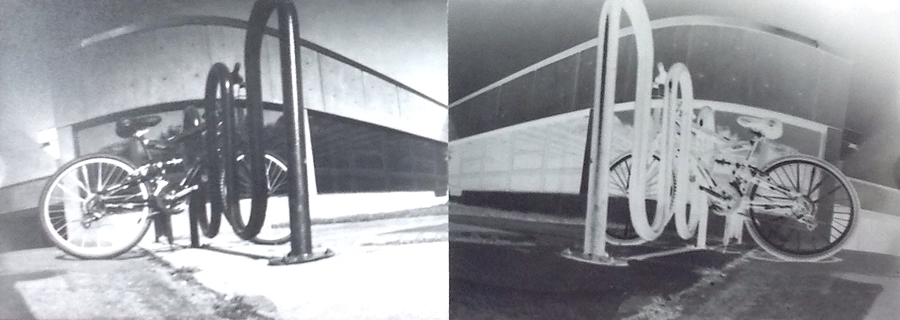
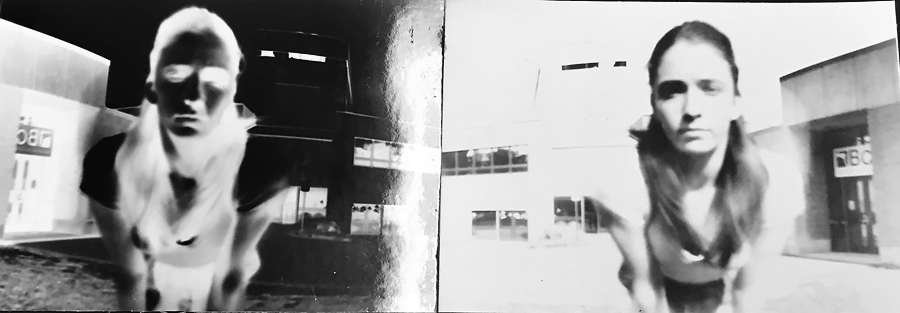
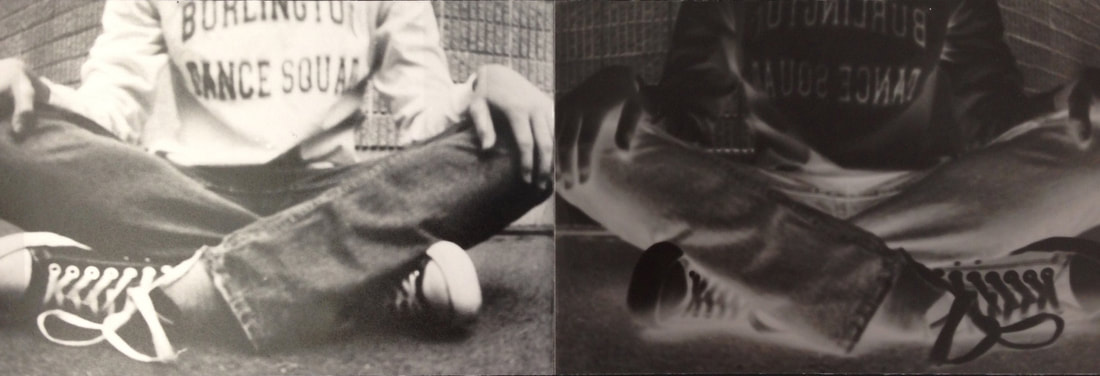
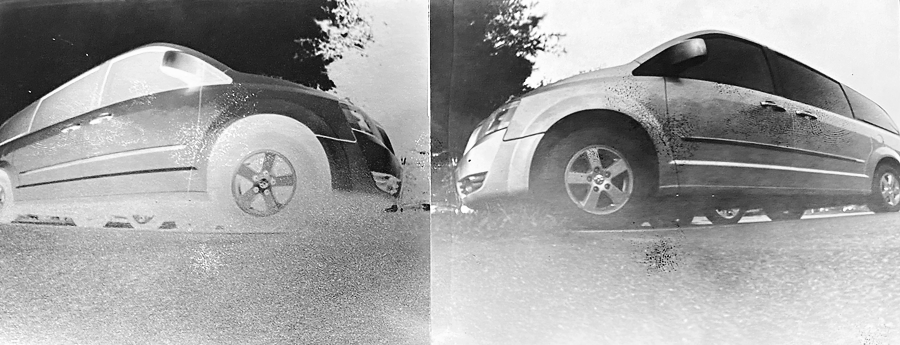
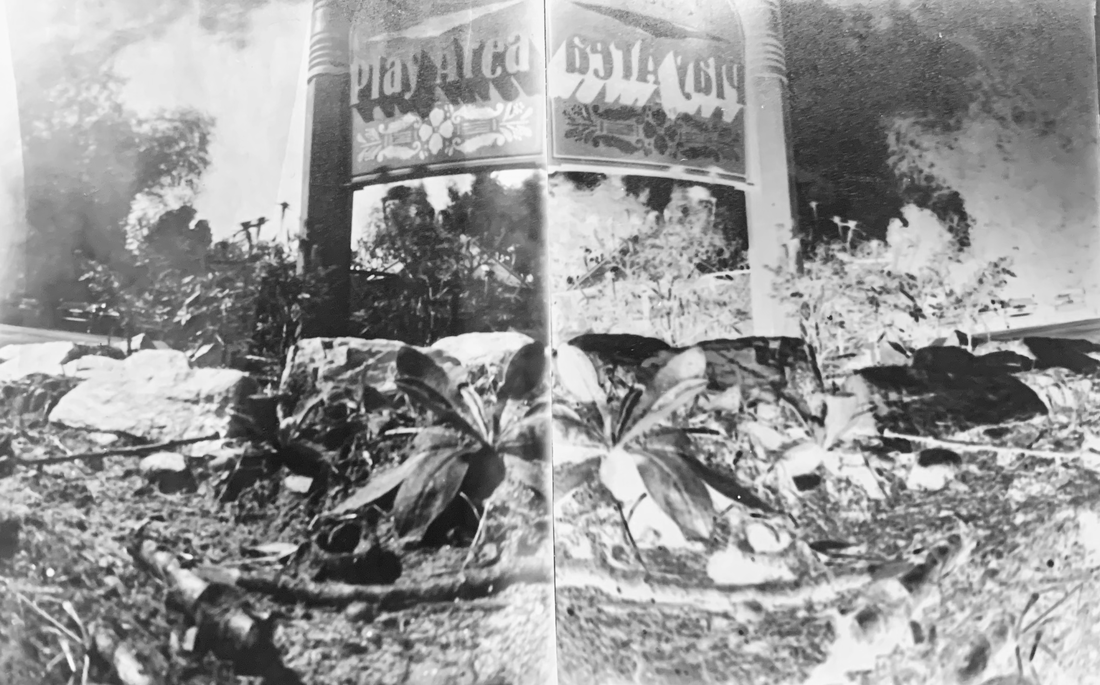
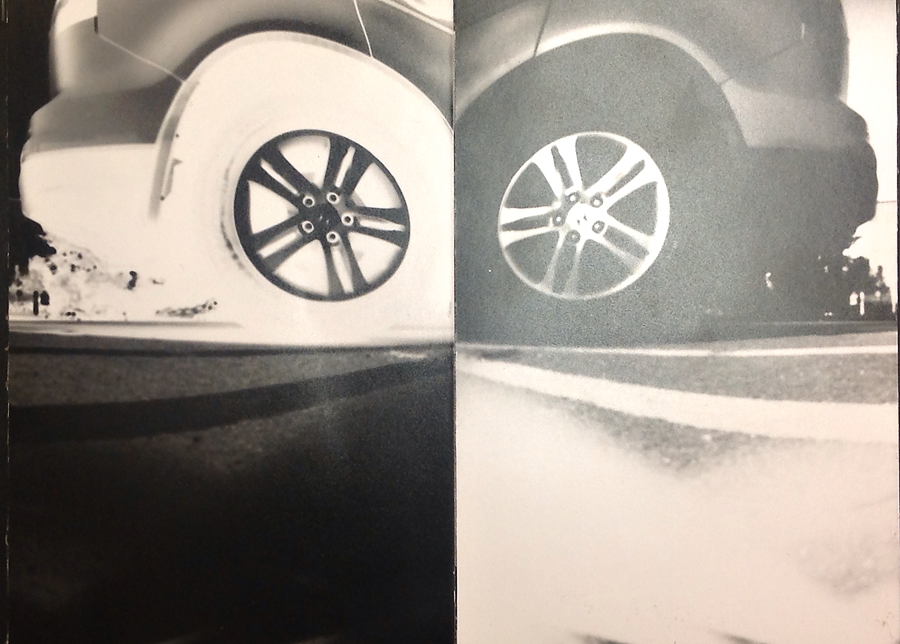
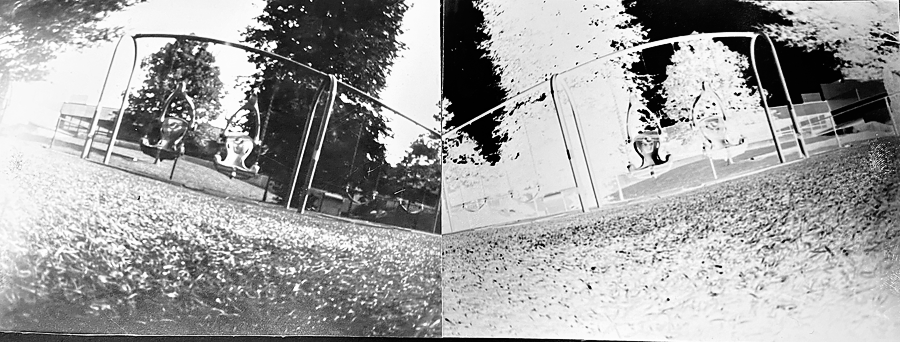
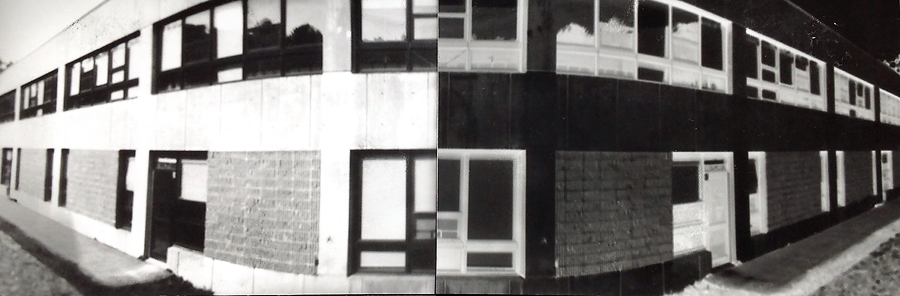
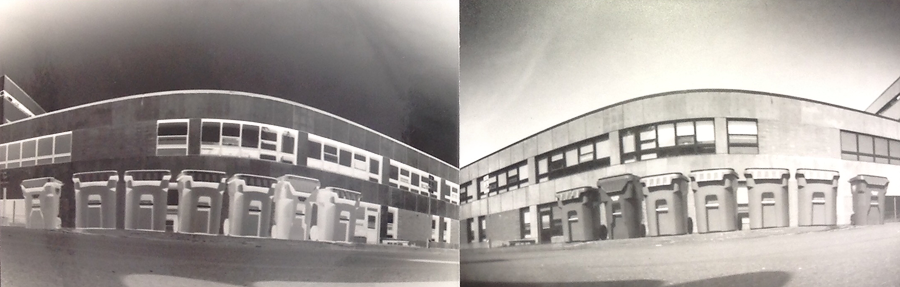
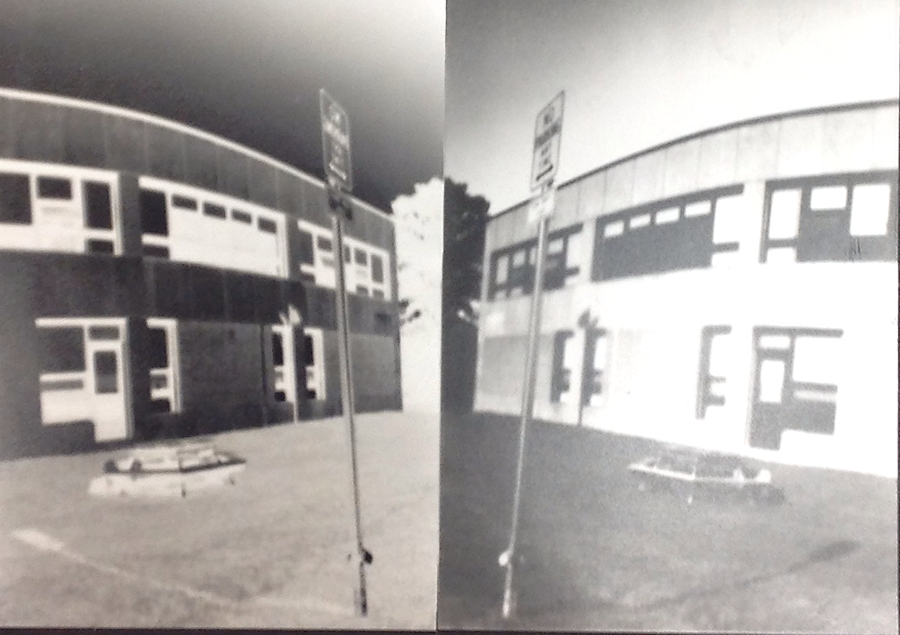
Art with Ms. Djordjevic
  • Home
  • Contact
  • Classes
    • Photo I
    • Photo II
    • Photo III :: Semester I
    • Photo III :: Semester II
    • Photo IV :: Advanced Photo
  • Resources
  • Home
  • Contact
  • Classes
    • Photo I
    • Photo II
    • Photo III :: Semester I
    • Photo III :: Semester II
    • Photo IV :: Advanced Photo
  • Resources

Photo I

This class explores the basics of traditional black and white photographic printing as well as digital photographic processes using Adobe Photoshop. We will examine both the aesthetic and technical aspects of the photographic process through several method based assignments. The uses of metering, lighting, composition, and technical aspects of the camera will be reviewed during class to give students a basic understanding of the art of photography.

Photo i Course expectations

Letters In Nature

9/28/2022

 
Picture
How do we see the world around us? If we start looking at the shapes created around us, we can start to see the letters of the alphabet emerge. This project will stretch your creative outlook on the "normal" world around you. Some letters are easier than others to see—I's and X's and T's are very common, but where can you see curved letters like C and S and M, or even O? For this project you are going to create an alphabet grid and spell out your name using the natural world as your alphabet.

Assignment:
You must first photograph the entire alphabet, A-Z, in nature. The natural elements can be man-made but cannot be actual letters written on a sign or wall. You will be creating an alphabet grid like the one pictured above using Adobe Photoshop, you will then create a poster of your name using the letters of your alphabet. 
Picture
You will be passing in the following to the class google drive folder:
- 1 alphabet grid
- 1 name poster using your alphabet letters

Steps:
• Think outside of the norm and consider helping nature to create some letters—for example, S is very hard to find in nature but your shoelace is a perfect tool to make an s-shape. 
• Shadows can help to enhance a letterform, think of how this either adds to or takes away from the overall composition
• If your name has two of the same letter you may want to consider photographing different options to make your name poster more interesting
• I'd like to see natural elements but you can use man-made objects (i.e. bike wheels, lamp posts, brick buildings, etc.)

Pinhole Photography

9/8/2022

 
Picture
A pinhole camera, also known as camera obscura, or "dark chamber", is a simple optical imaging device in the shape of a closed box or chamber. In one of its sides is a small hole which, via the rectilinear (straight lines) propagation of light, creates an image of the outside space on the opposite side of the box. Aristotle wrote about a rudimentary concept of the pinhole camera. Today, photographers continue to use pinhole cameras for artistic purposes. Many pinhole cameras can be bought (even pinhole kits can be purchased), but we are going to make ours from scratch!
Assignment:

This week we will be making real working cameras out of a can of oatmeal, a piece of aluminum with a tiny hole poked into it, some paint, and a whole lot of tape. I promise these are real working cameras and they give a very nostalgic, almost dreamlike quality to the images. 
Steps:
  1. Obtain an oatmeal canister (or something like it)
  2. Paint interior of the canister and lid black (paint the outside if it is white or thin cardboard)
  3. If your box has a clear plastic lid, cover exterior with black tape, paint interior black or cut a circle of black construction paper to place on the inside & glue in with elmer’s glue.
  4. Carefully cut out a small square (about 1 in x 1 in) on one side of the oats box. It should be middle of the container.
  5. I have precut aluminum squares from pie tins for you
  6. Poke a pinhole in the aluminum (we will do this together)
  7. Tape the aluminum on the inside of the box with black masking tape
  8. Let it all dry! (tip: use the hairdryer for quick dry)
  9. In the darkroom, "load" camera with a precut piece of 4x5" RC paper by making a tape loop on the backside of the paper (non shiny side) and pressing it against the interior of your canister
  10. Place the paper inside the pinhole camera so it faces opposite the pinhole "lens." and put the cover on tight
  11. Carefully holding the pinhole with your finger, go outside and find a great shot, set up your pinhole camera on a solid surface, and take your finger off of the pinhole.
  12. Expose for about 10 seconds depending on the amount of light (see time chart below)
  13. Come back into the darkroom and put the paper through the darkroom chemistry. Now you have a NEGATIVE.
  14. Once dry, make a POSITIVE image by placing the negative face down on top of a new piece of b&w paper (we will do this process together).
  15.  Mount your prints side by side
    1. Prints must be cut evenly and straight
    2. Prints must be centered (use a ruler)

Start timing your exposures using this chart:
  • Bright Sun with Distinct Shadows
    8-12 Seconds
  • Cloudy and Bright, No Shadows
    15 Seconds
  • Heavy Overcast, Open Shade, rainy
    25 Seconds
  • Indoors- Bright
    5-15 Minutes
  • Indoors- Average light
    30 minutes to 1 Hour

Resources: https://www.pinhole.cz/en/pinholecameras/whatis.html
Justin Quinnell is a great pinhole photographer who has been working solely with pinhole photography for the last 22 years—he's even made a pinhole camera out of his mouth! 

    Enter your email address:

    Delivered by FeedBurner

    Archives

    September 2022
    February 2022
    November 2021
    October 2021
    September 2021
    June 2021
    April 2021
    March 2021
    February 2021
    January 2021
    December 2020
    March 2020
    December 2019
    November 2019
    October 2019
    May 2019
    April 2019
    March 2019
    February 2019
    January 2019
    September 2018
    April 2017
    September 2016
    April 2015
    September 2014

    Categories

    All

    RSS Feed

Proudly powered by Weebly