Photo II
This class is an intermediate study of photography that focuses on developing skills learned in Photo I and bringing new skills to the forefront. We will explore more serious forms of photography and expect a more professional outcome.
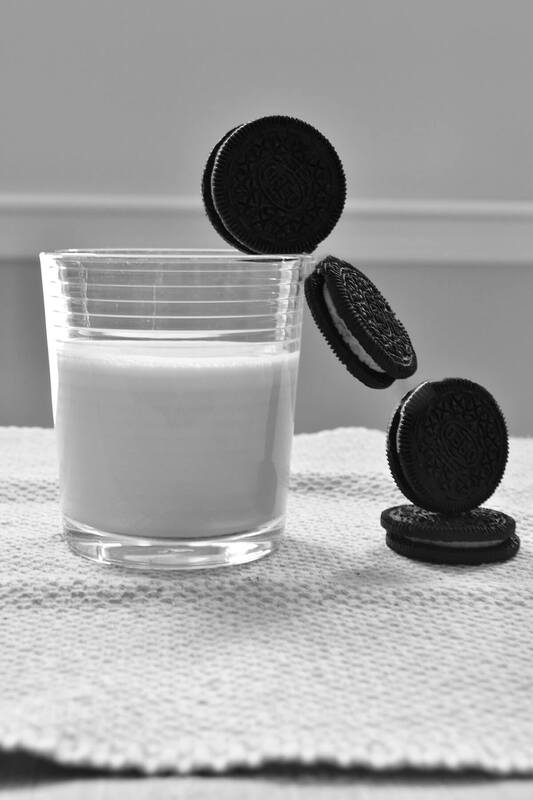
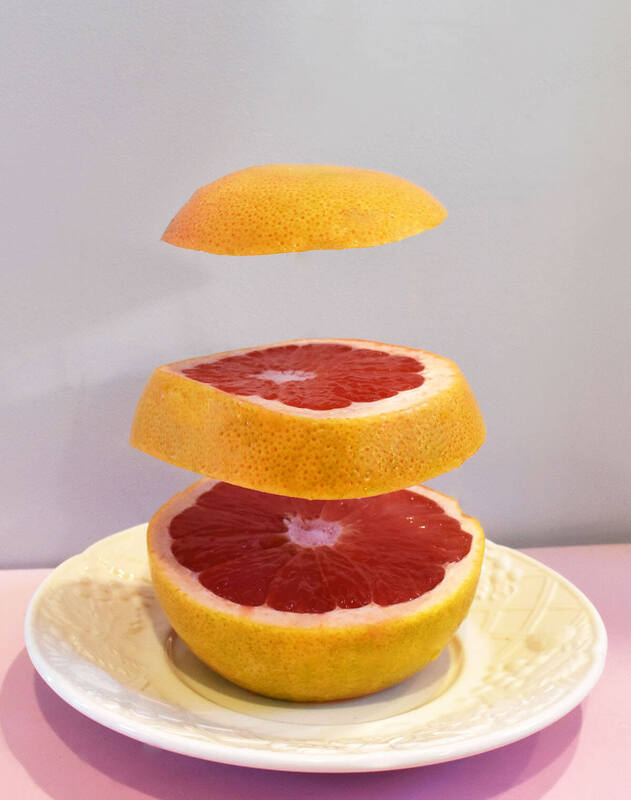
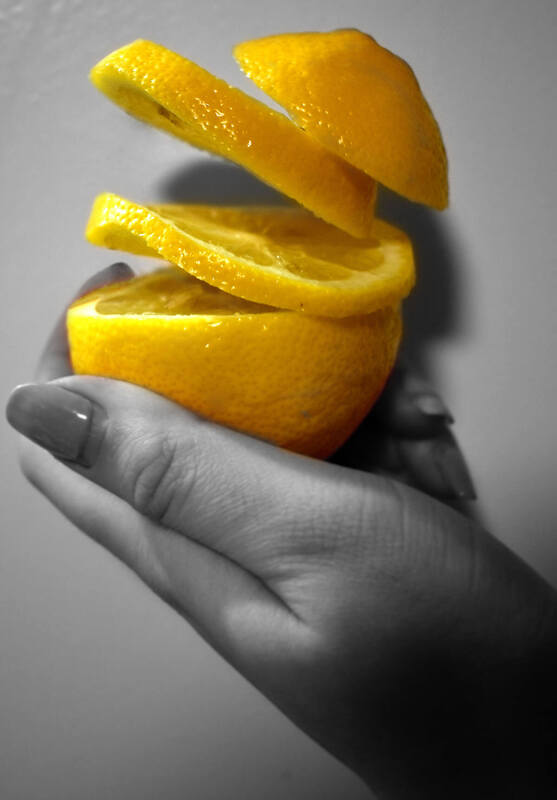
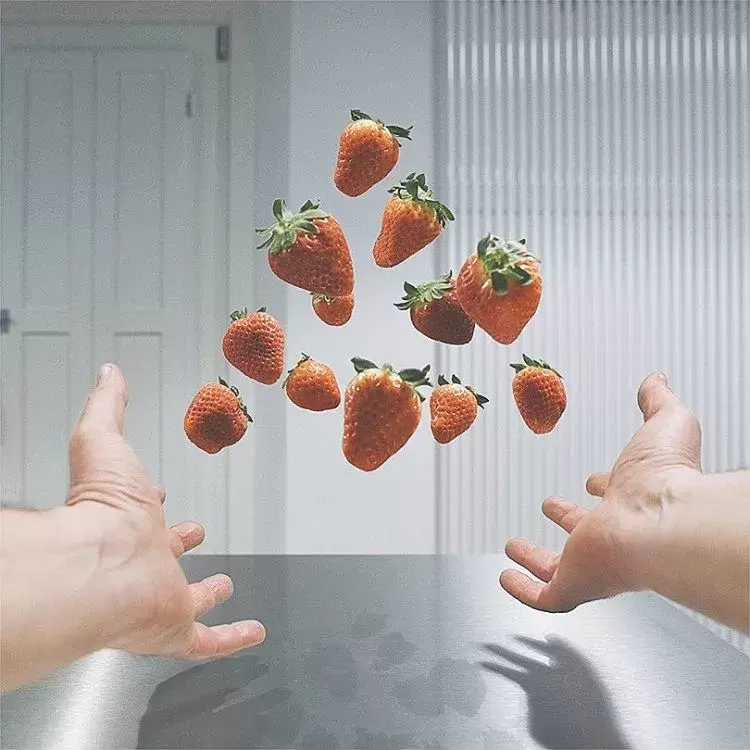
Assignment: Create 2 floating food images. Remember items with more physical layers is more interesting, but having those layers be easily attached helps to make them interesting (i.e. it is very hard to float a layered trifle or an ice cream cone). You will need to take several images of each food to give yourself options, but the setup is most important. Think about a clean background to make it easier to use the content-aware fill option, also think about your lighting. Creating a mini studio is helpful in making this very clean in post production. Steps:
Objective: To create interest in your image by implementing photoshop editing techniques to make pieces of your photo disappear
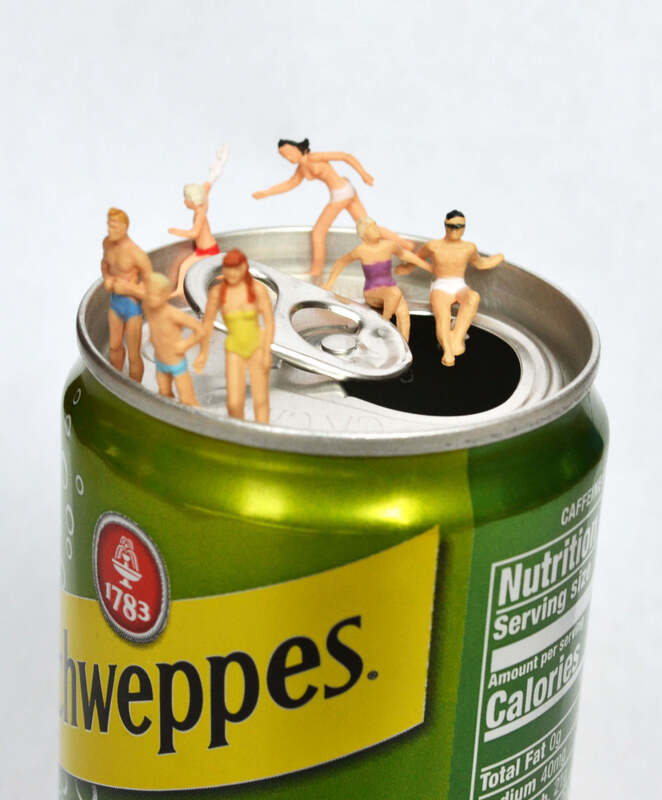
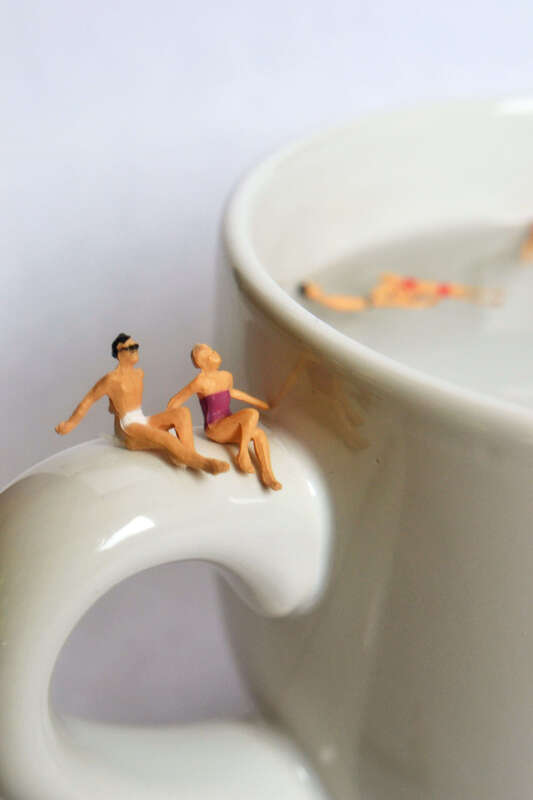
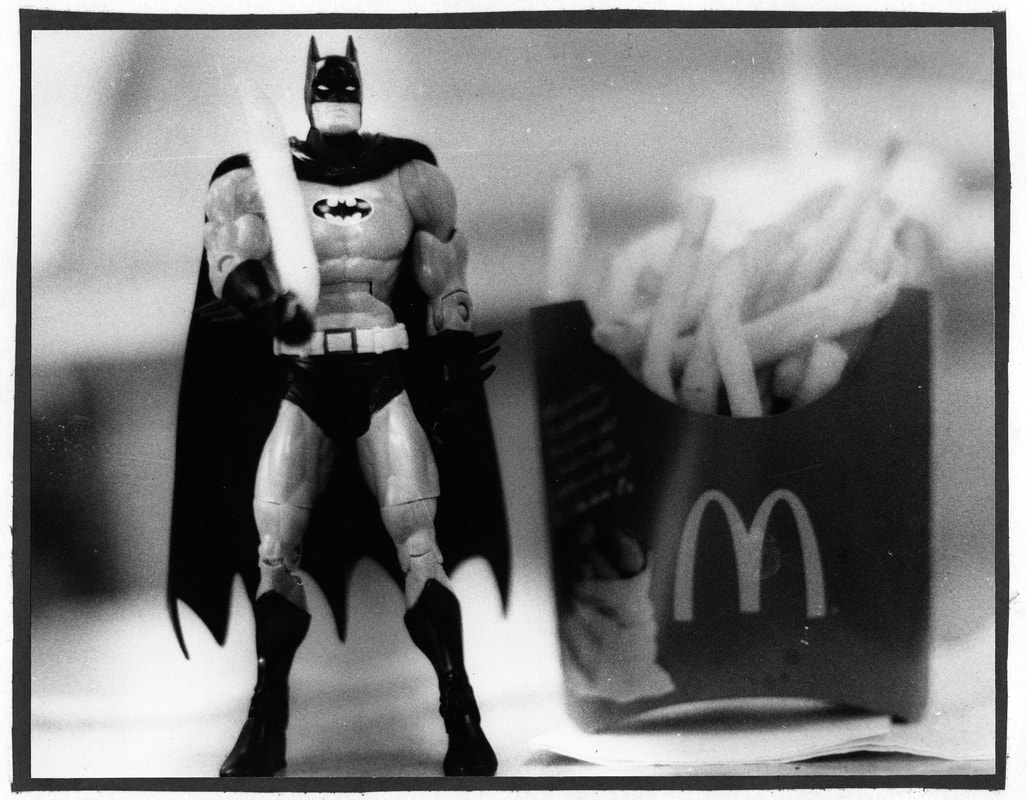
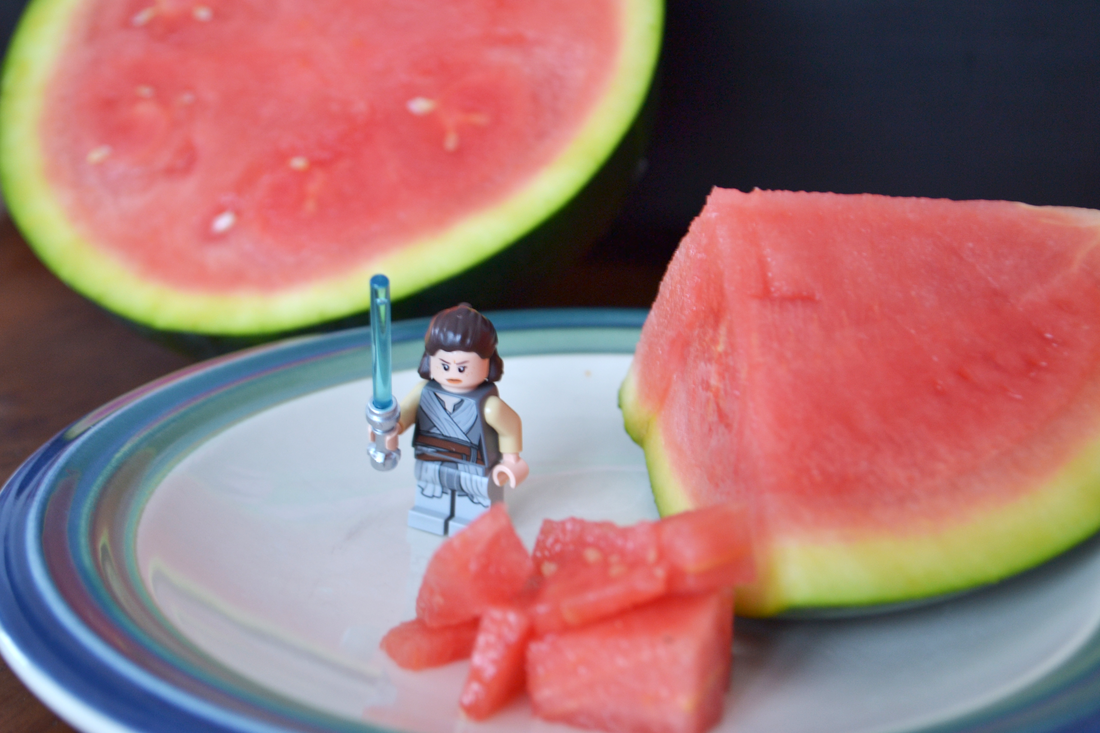
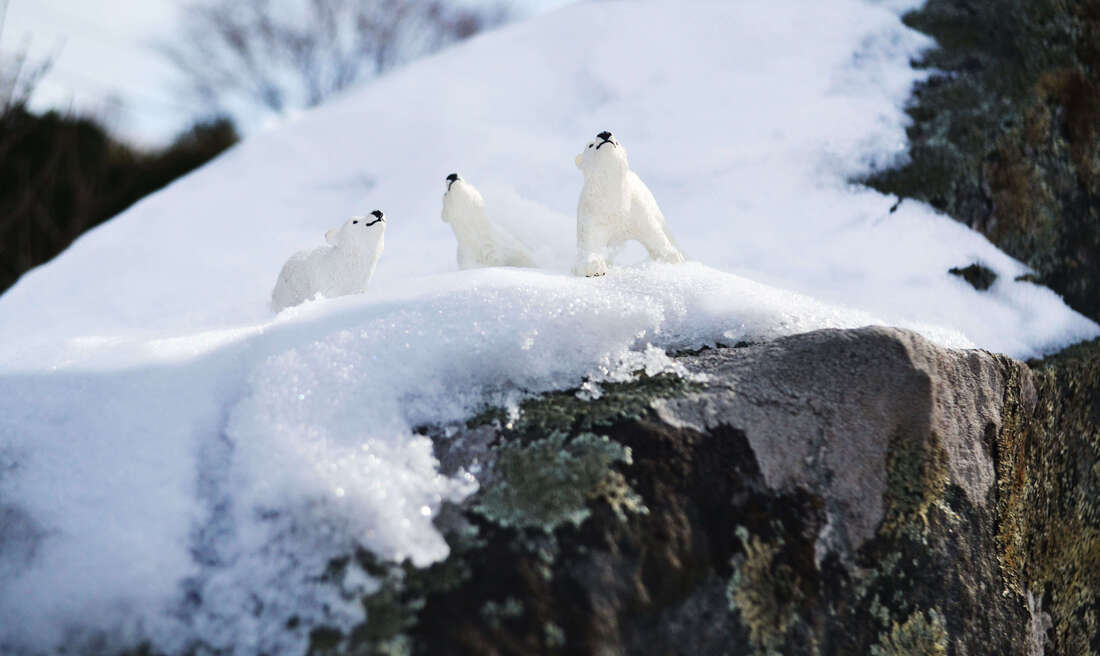
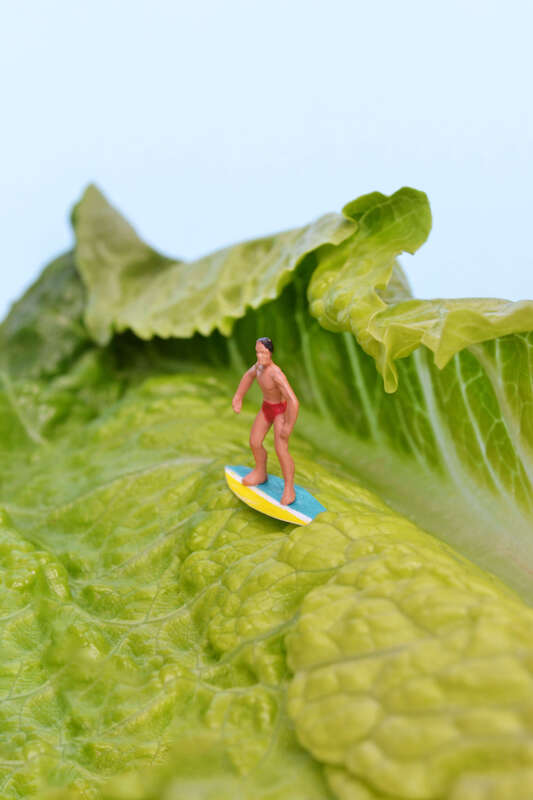
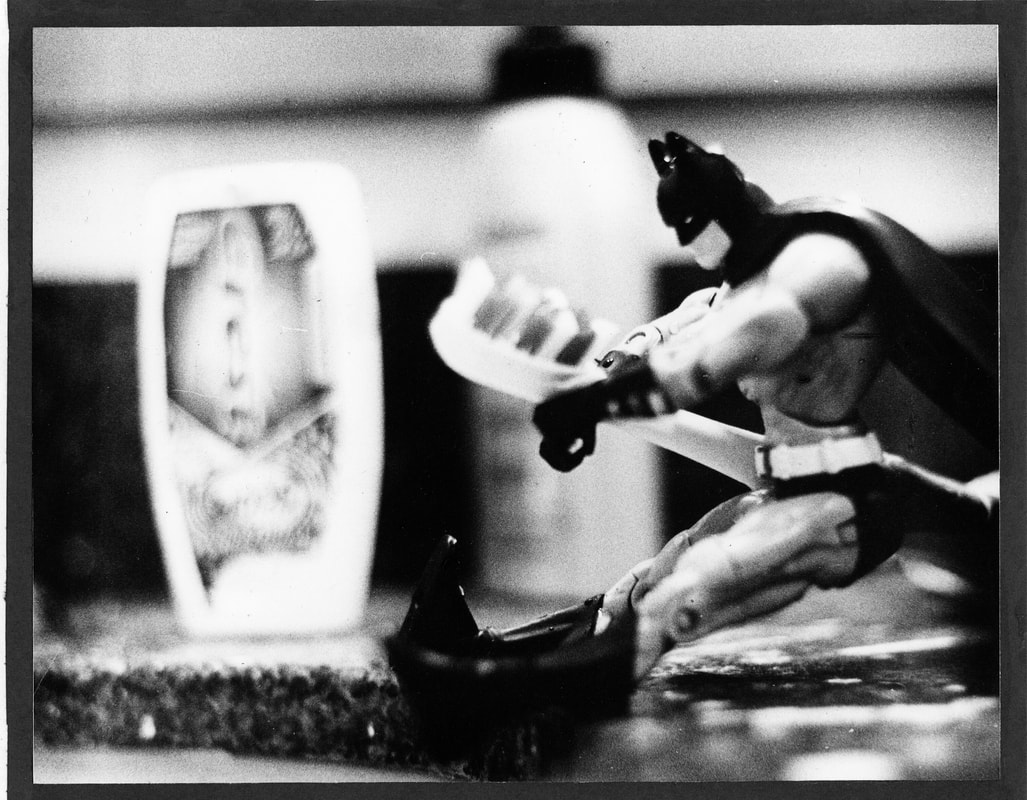
Assignment: Create a series of images using old toys. You can make up adventures and photograph them in interesting scenarios. This can be a series of 6-8 images, or 6-8 separate scenes with the same or different toys. You may want figurines instead of stuffed animals as it will look more real. Lego characters can work, as do Barbie's, action figures, or doll house characters. You can also purchase miniatures and even have more fun as they are tiny figurines. Steps:
Objective: To use your imagination using tiny toys and bringing them to reality by the way you photograph them.
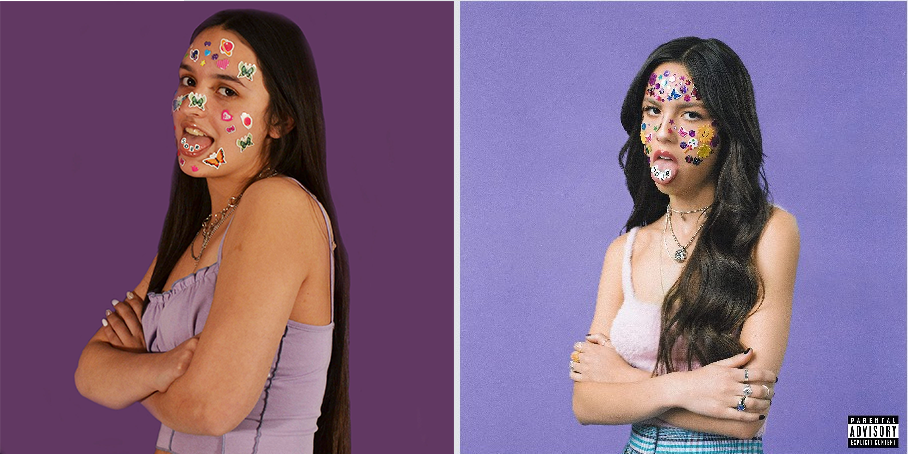
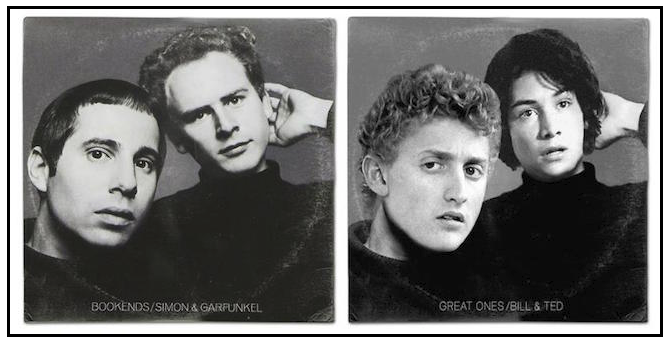
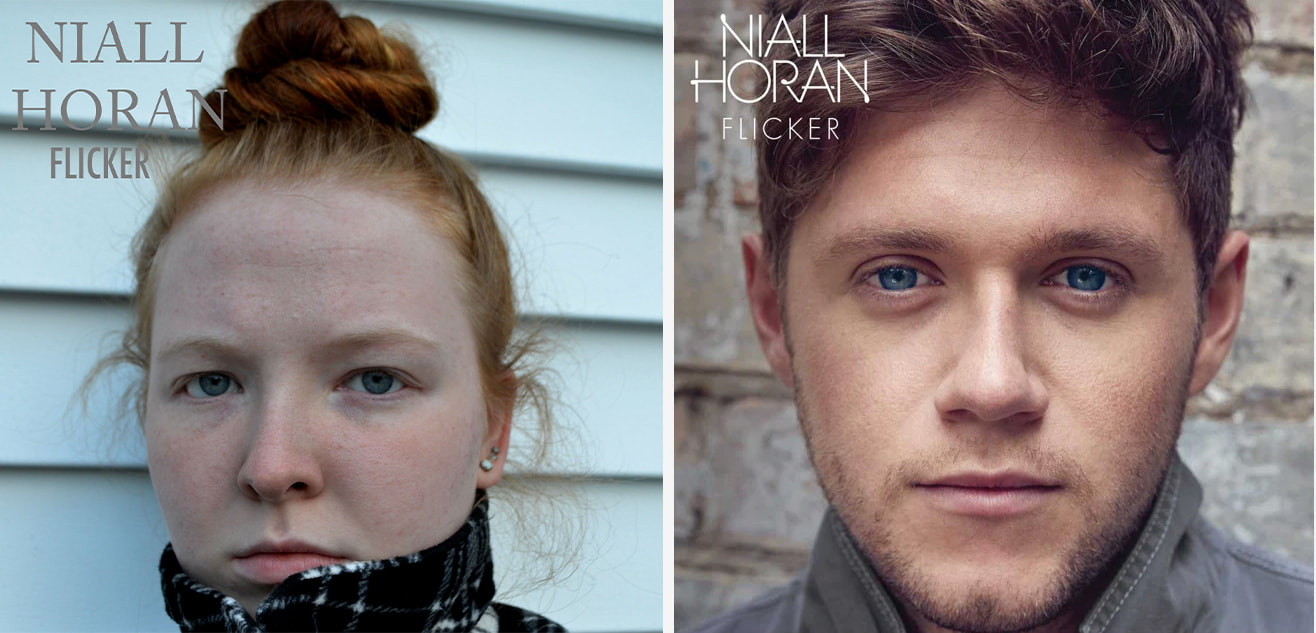
Assignment: Choose a favorite famous album cover (at least one that we would recognize) and recreate it at home. You can have a little fun with this assignment by modernizing it, or try to stay closer to the original roots of the album design. Choose something interesting, not a solid color album or anything like that. You will create one single album cover, take a photo of the recreation and add the original text of the cover back on to make it look like the original. You will pass them in side-by-side like you see above. Steps: • Research different famous album covers, when you find a few you like think about how you are going to recreate the image on the front. • Create a strong recreated image like the album and edit it to look like the original. Pay attention to lighting and framing and objects—it doesn't have to be perfect but we should be able to see where the inspiration came from. • When you are finished, submit on google classroom. Resources: Album Recreation Pinterest Board
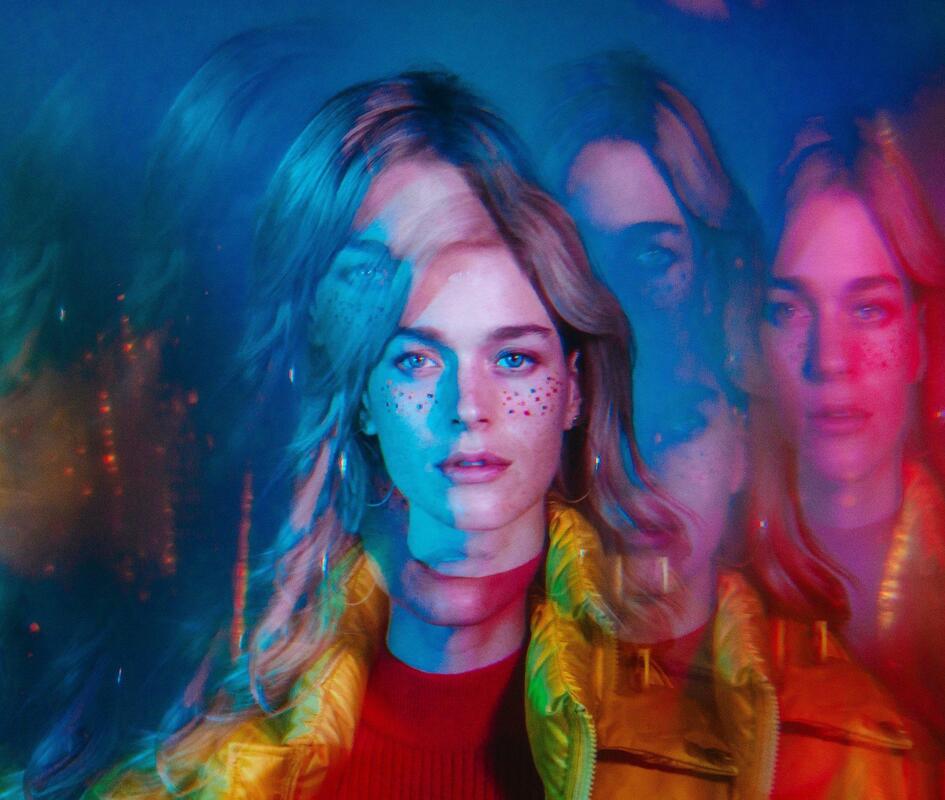
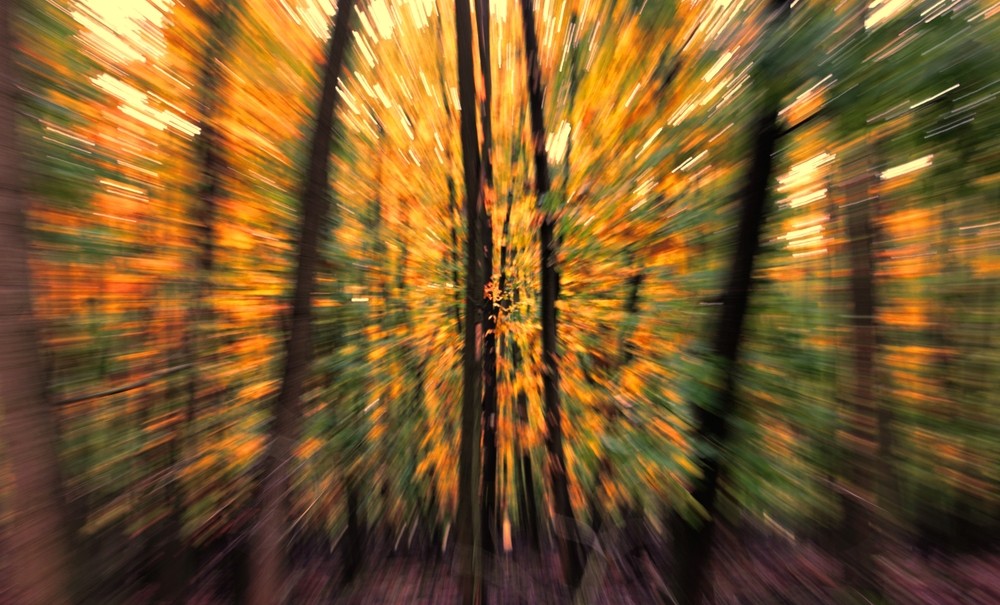
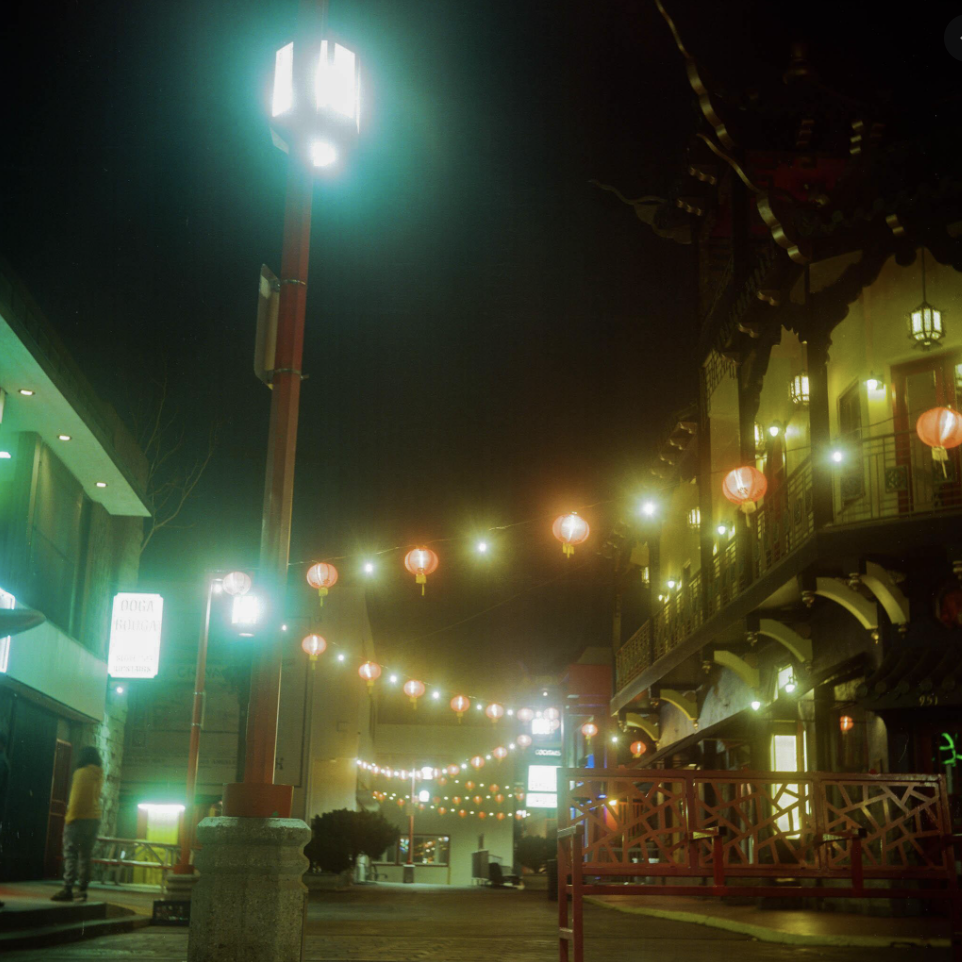
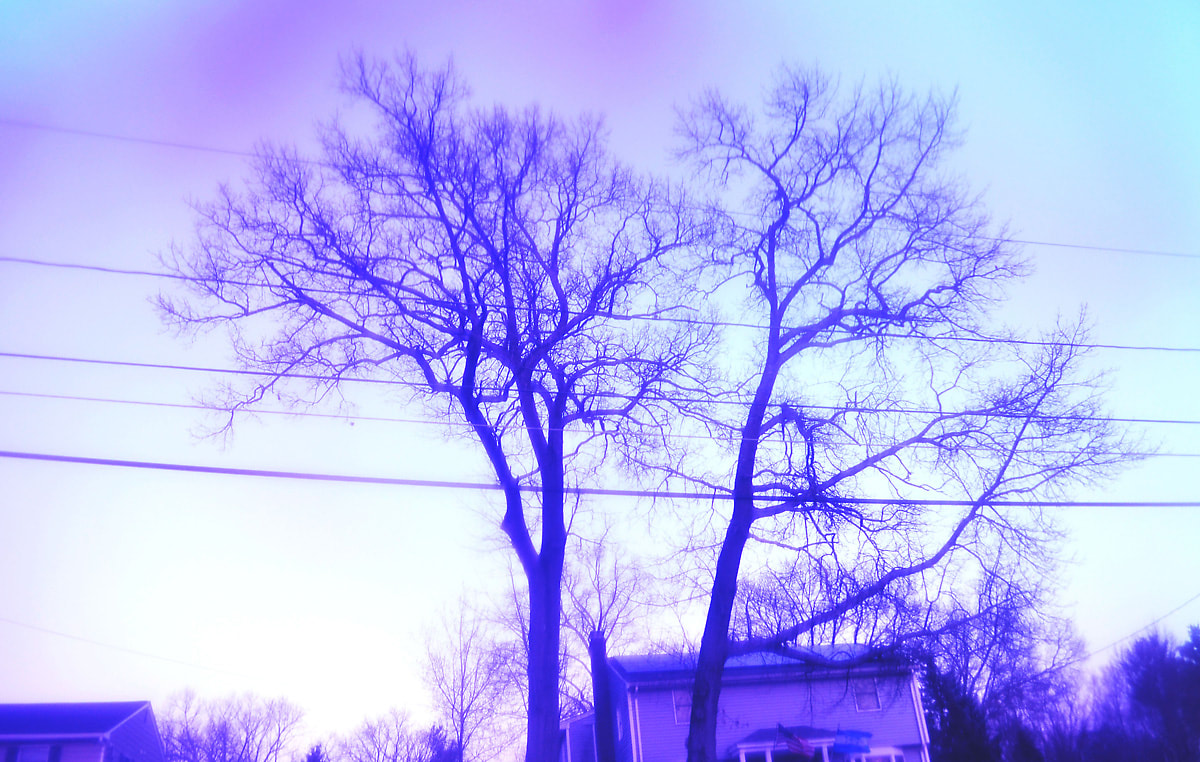
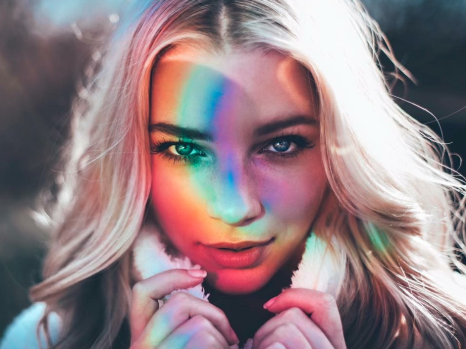
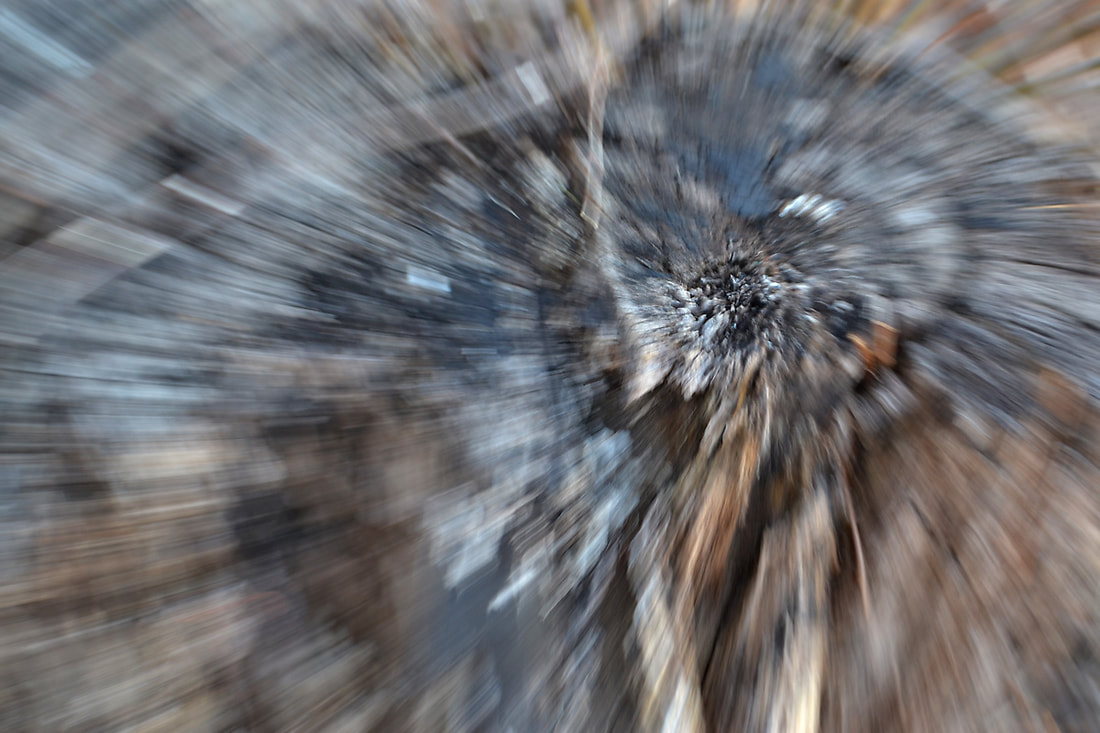
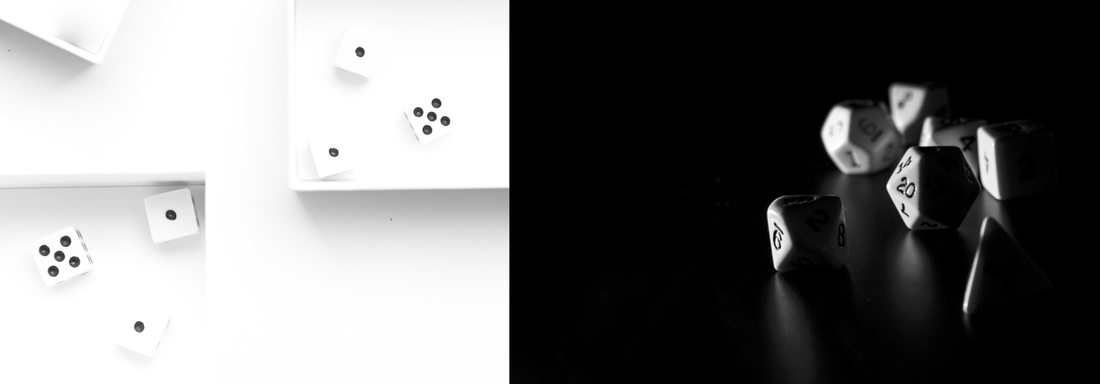
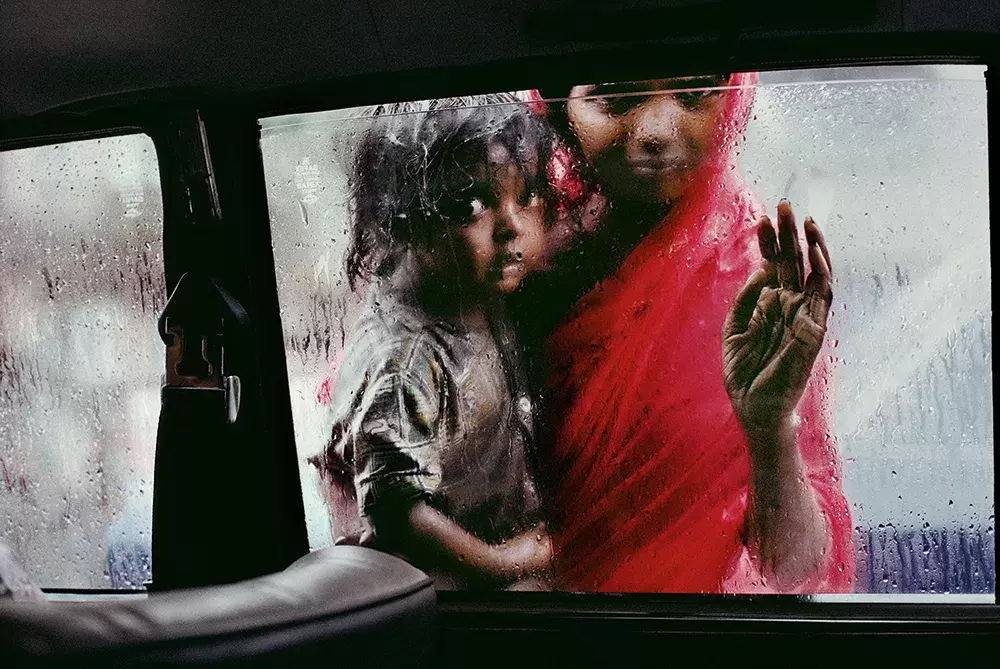
Assignment: For this assignment you will photograph 50 digital frames with different lens effects. Consider what you want to create and try to be creative with what you find in your home to use. I don't care what effect you do use, but you cannot take a straight photo for this project. Remember you can do soft lens effect, halation effect, crystals, CD's, fairy lights, cracked glass, small mirrors, zoom the lens while photographing...anything at all that alters the image inside the lens. Steps: • If you are using crystals or CD's you may need a light source (hello sunshine!) to help throw the light inside the crystal • Portraits work well for this but are not required • Many of the objects you hold in front of the lens are small, so be sure to zoom the lens in so we can't see the item • If you want to try the vaseline effect you HAVE to put plastic wrap in front of the lens...nothing is to go directly onto the lens!!!!!
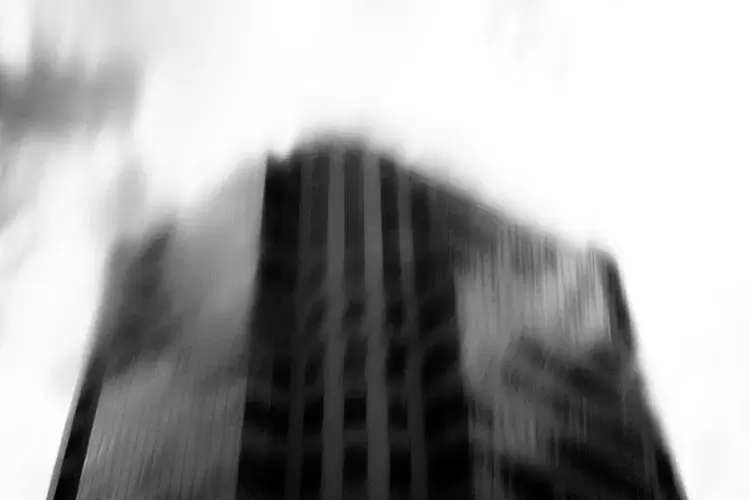
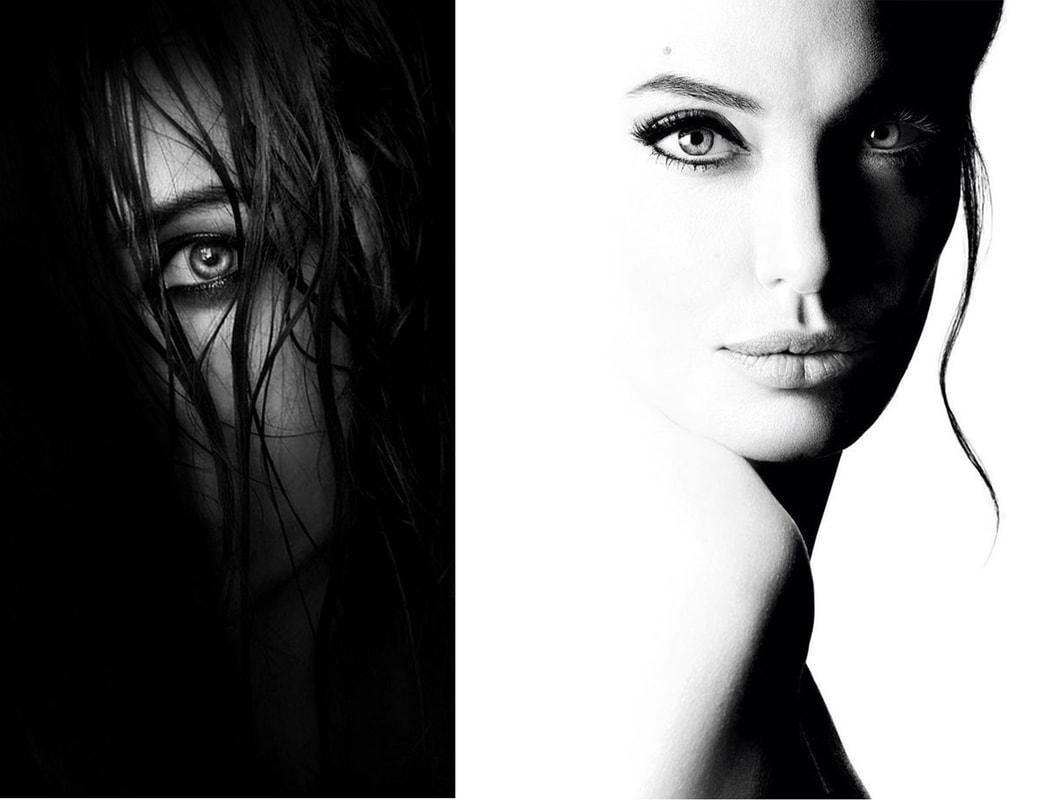
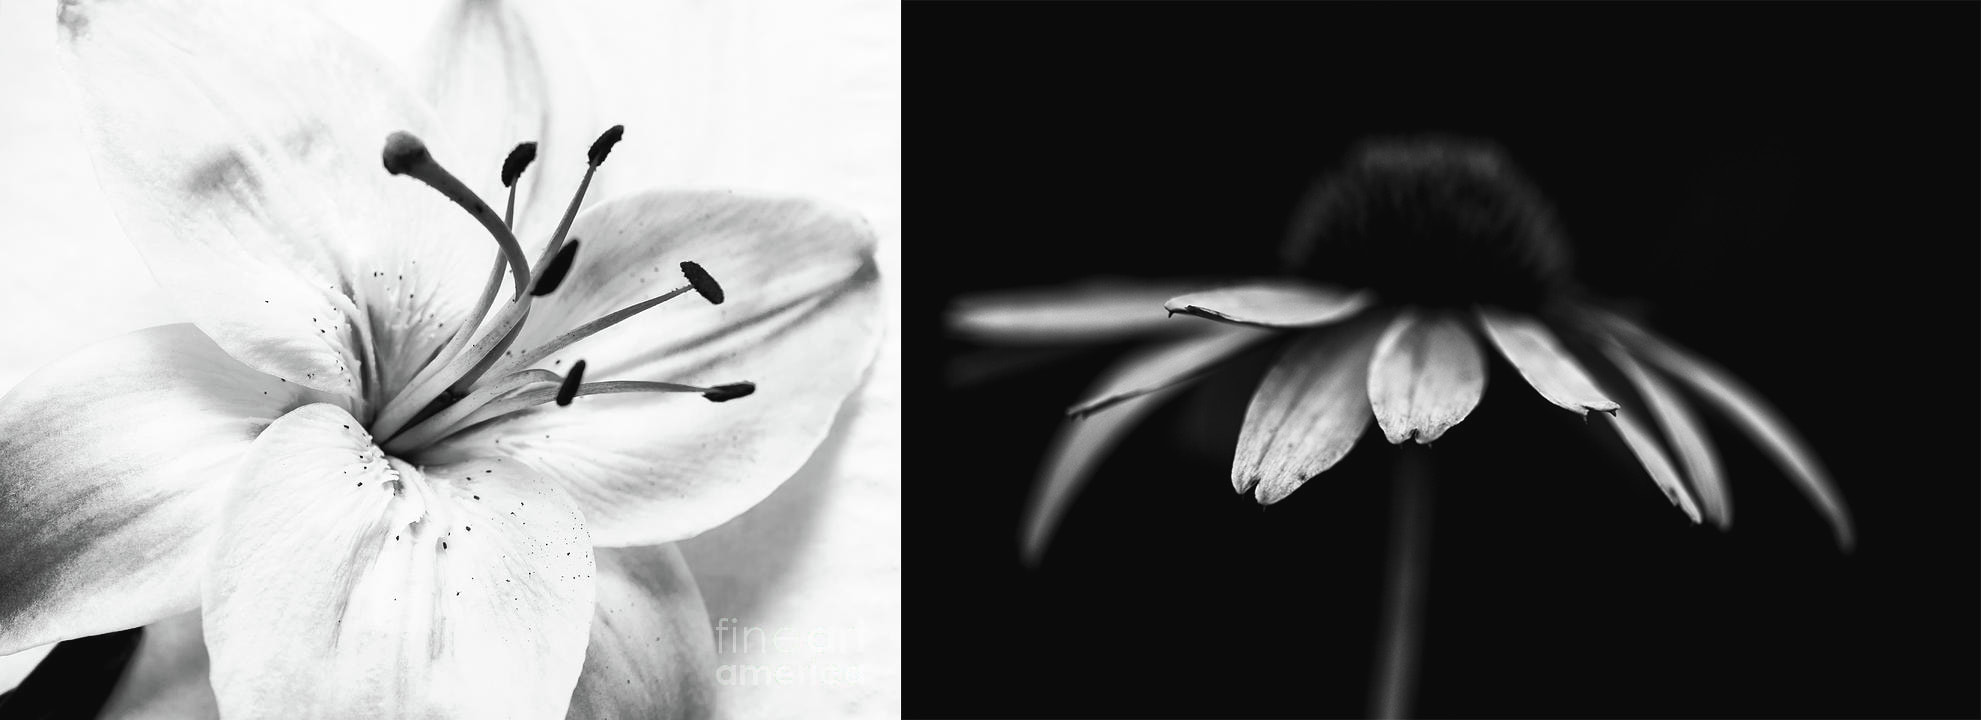
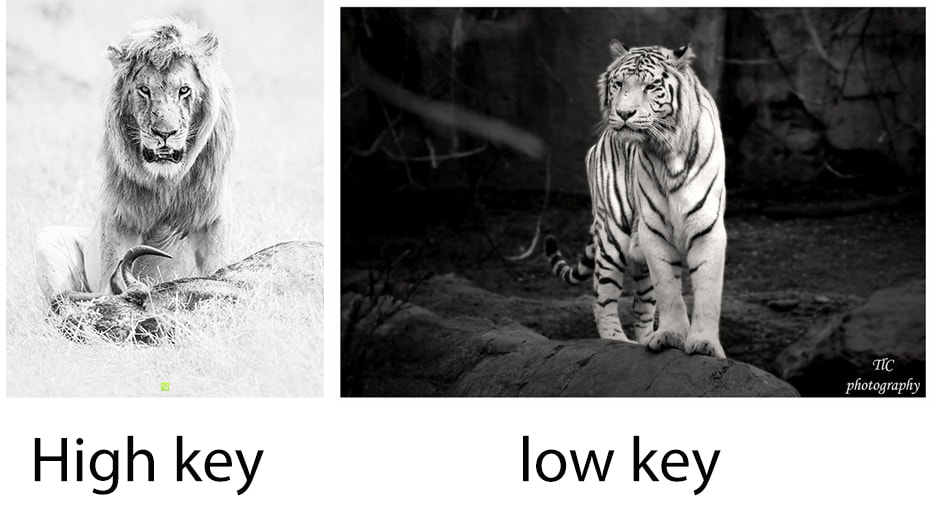
Assignment: For this assignment you will photograph 50 digital frames with high key and low key B&W images in mind. During the shoot you'll want to consider what mood you are going for because that will dictate how you light and expose the image. If low key is moody and high key is more airy then consider not only your subject while you are shooting but also your lighting and camera settings. Some of this can be done after the fact with your editing in photoshop, and some has to be done in camera while you are shooting. You are showing me equal high key and low key photographs for this assignment. It may take two separate shoots with different ideas in mind. Steps: • Check out these 2 resources on low key photography (article #1, article #2) • Check out this resource on high key photography • Portraits work well for this project but really any subject works • You do not need to show the same object as high key and low key, the subject you photograph may dictate the mood you are going for • When you are focused on low key, be sure to have a darker background and expose it a little below what the light meter asks for. • When you are exposing for high key, make sure to have a brighter background and expose maybe a little bit higher than the light meter dictates
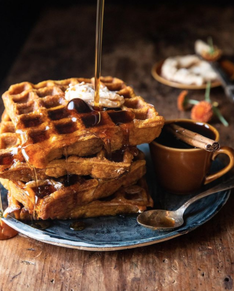
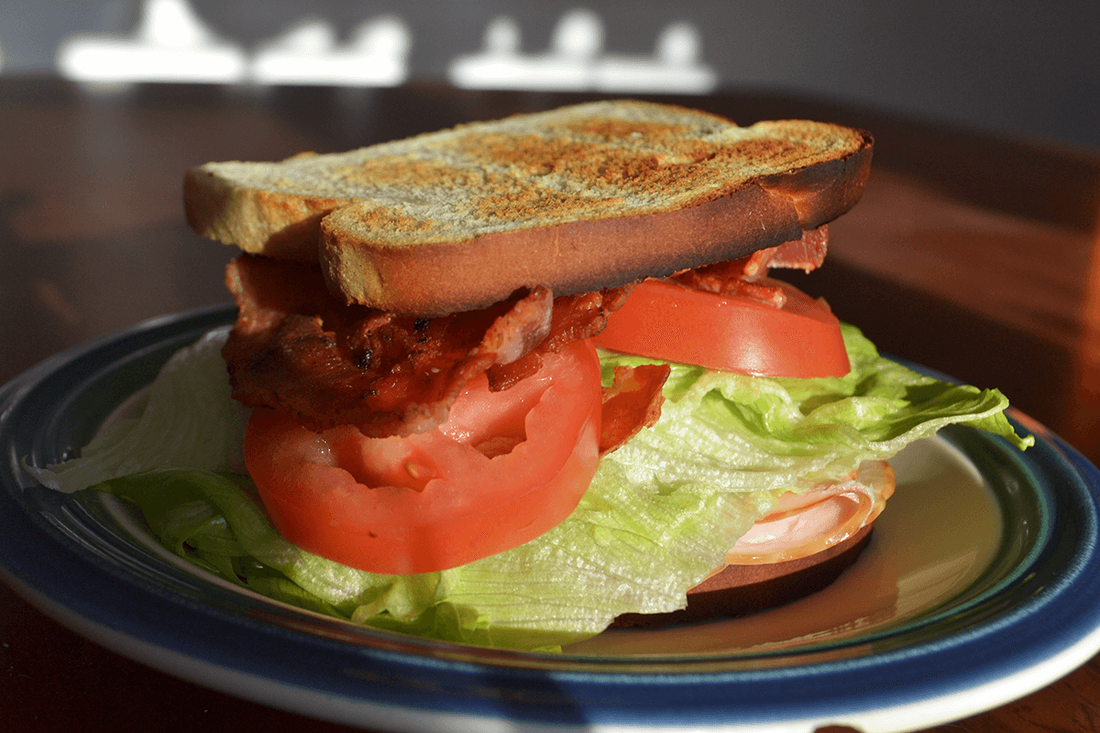
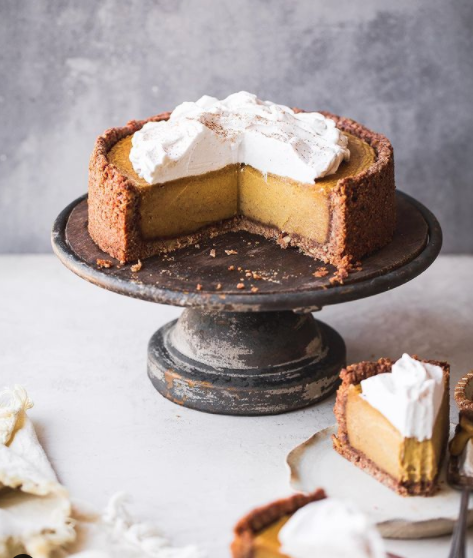
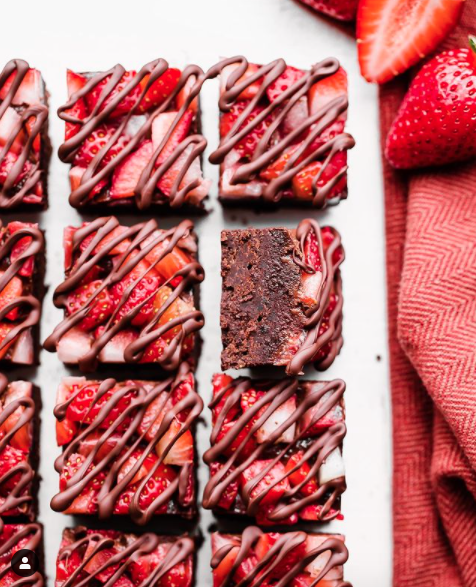
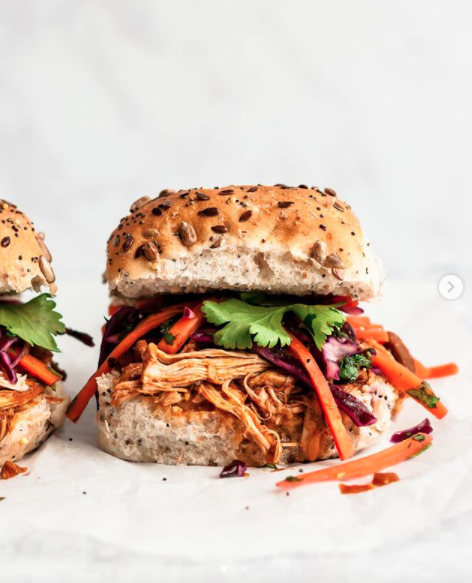
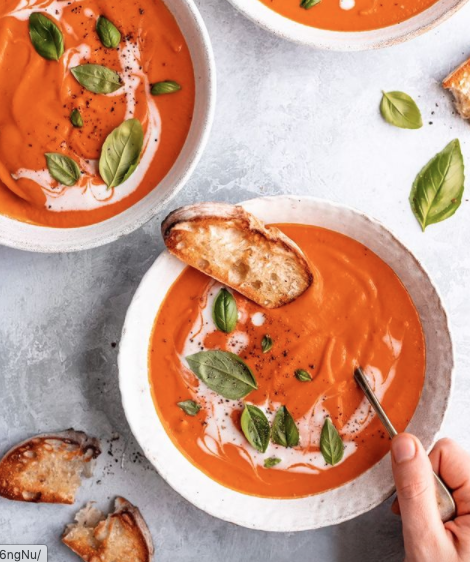
Assignment: You must photograph 50 digital frames focusing on food photography. You can photograph meals, focus on a table scape, make a whole meal, just a dessert, you have many options. Think about shapes and making your food look appealing to your audience. Search instagram for cooks and even local favorite restaurants—how do they photograph their food? Steps:
Resources: - Pinterest food photography board for more inspiration - Food photography tips and tricks @bakeritablog @halfbakedharvest @ambitiouskitchen Objective: To use the camera and lighting to make a professional image that makes food more appealing to the viewer.
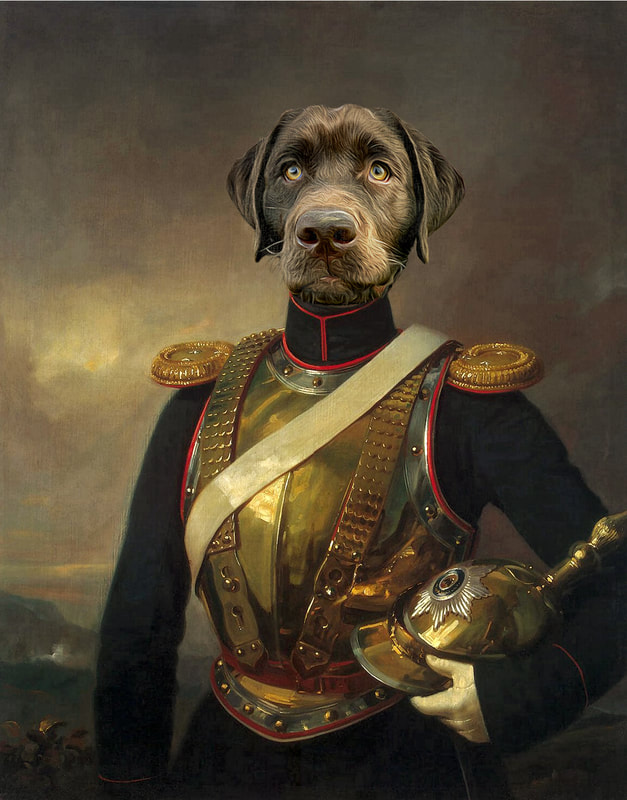
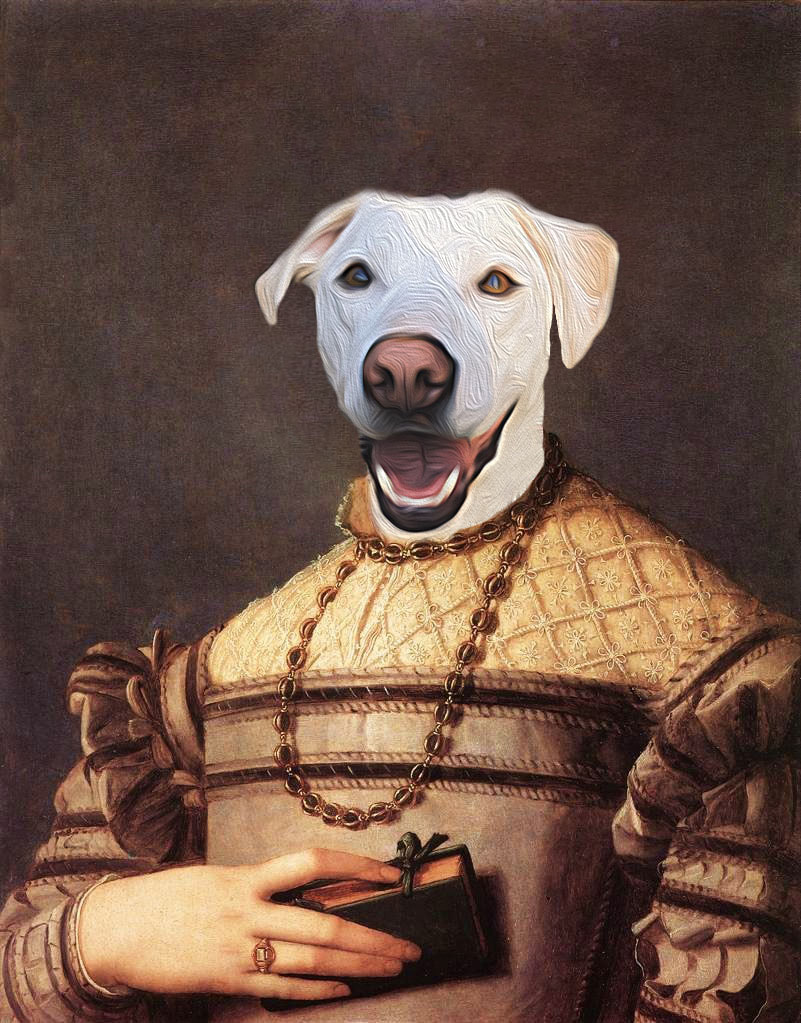
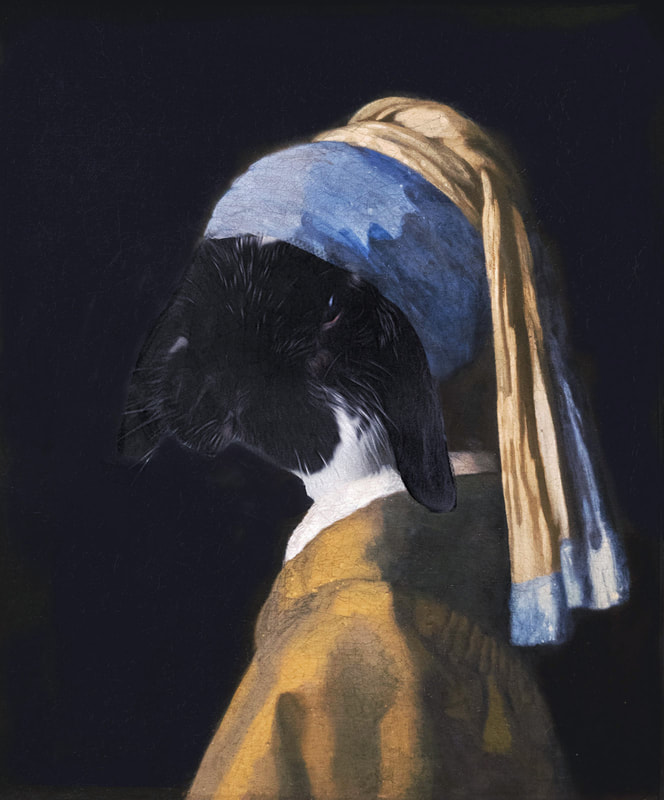
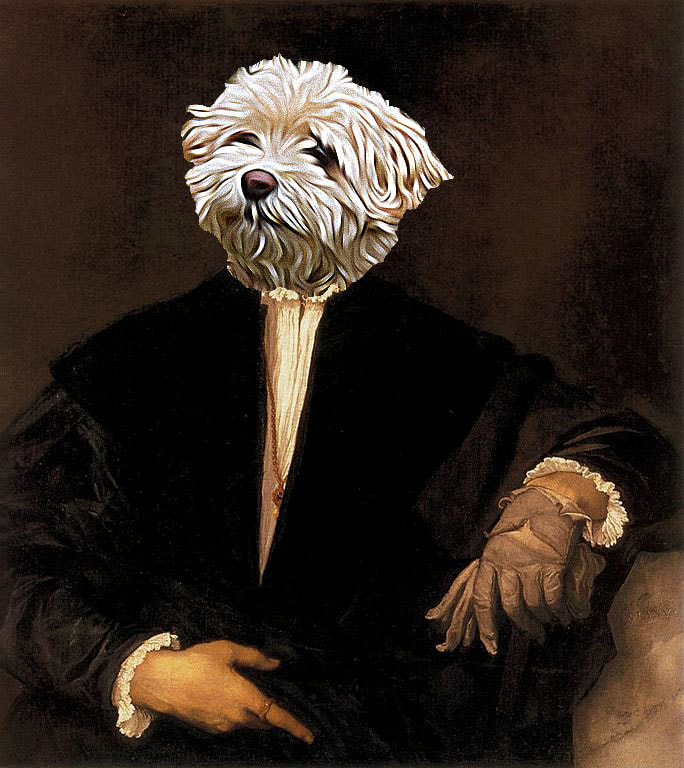
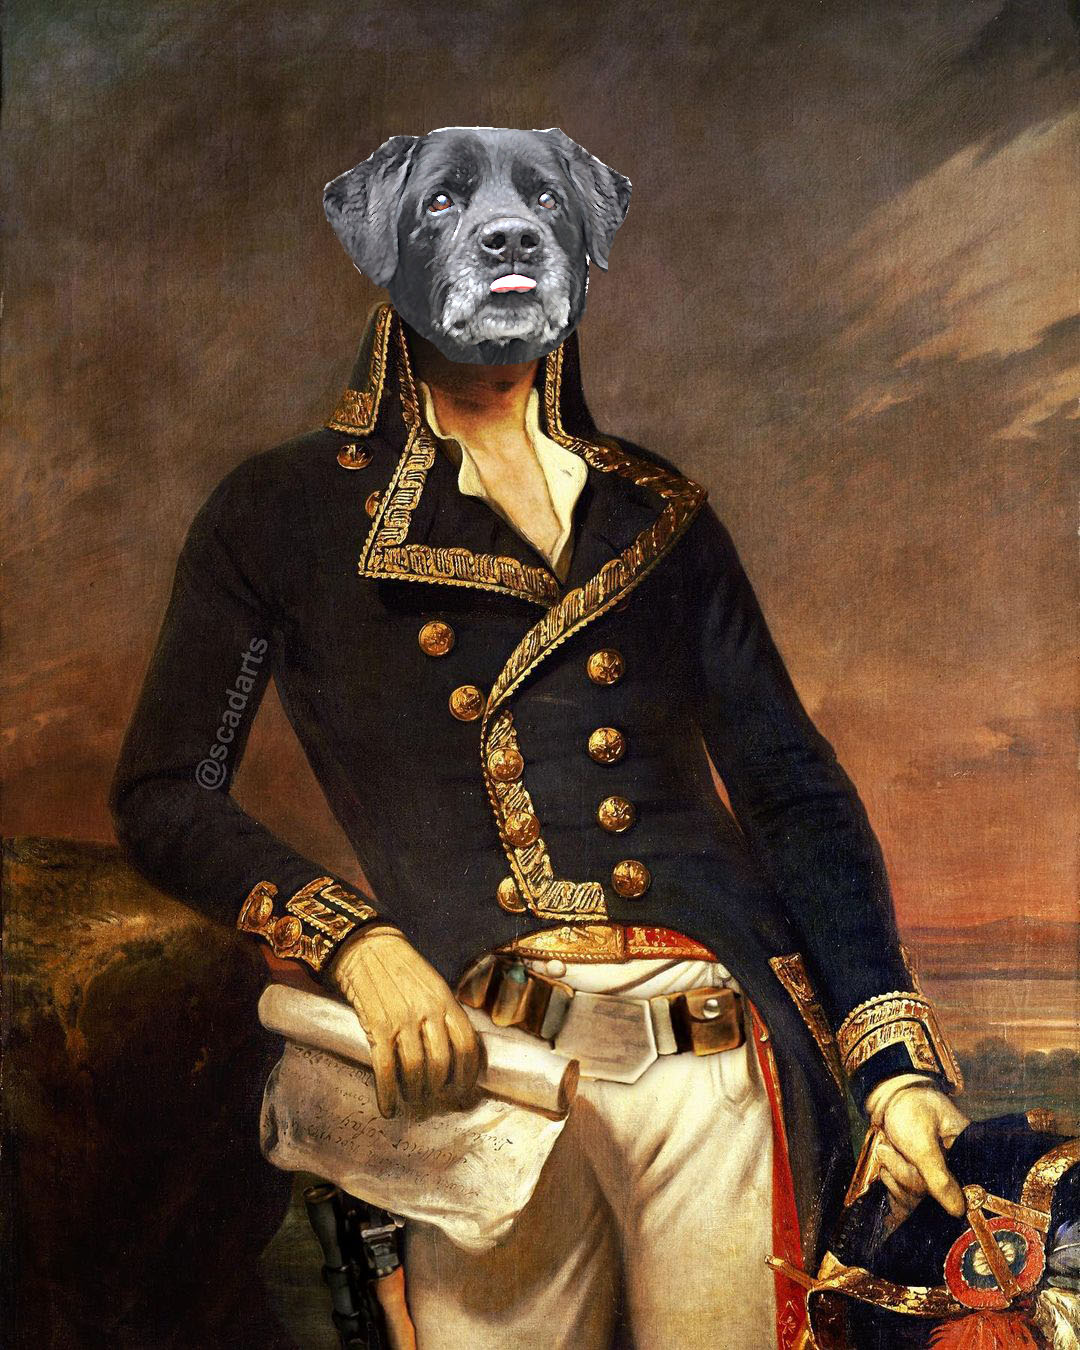
Assignment: For this assignment you will take a photograph of your pet (or a friend's pet if you don't have one) and turn them into a renaissance style portrait. This is a lot of photoshop work to attach your pet's head to a renaissance style oil painting and make them look regal. I have attached a few high resolution renaissance style portraits for your use, but you can also search your own. Make sure the image you download is high resolution though so you can properly attach your pet's head to the portrait. Steps: • Check out this youtube tutorial on how to make your pet into an oil painting portrait • Download a renaissance portrait to use as your background (remember to find a large image to work with, otherwise you may not be able to print) or you can use one of the ones I attached in your google classroom assignment • You want to consider where your pet is looking when you are decidsing on which portrait to use. • Exposure is important in these images, as well as size, so don't use an iPhone image for this.
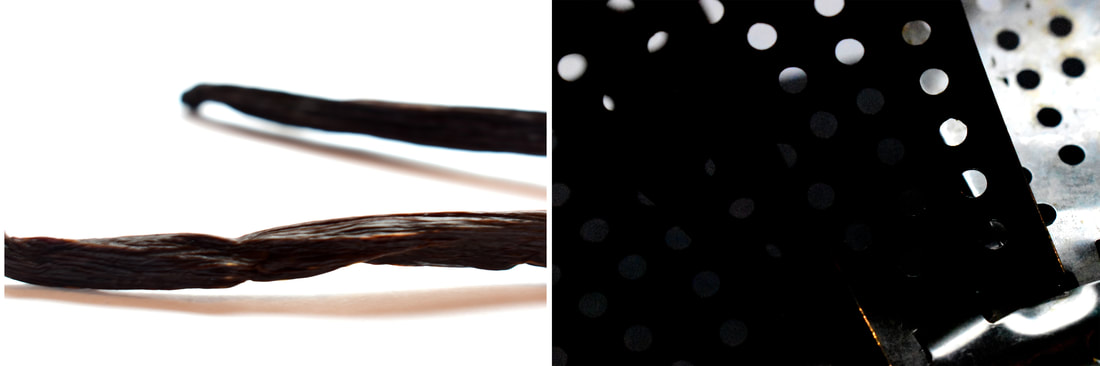
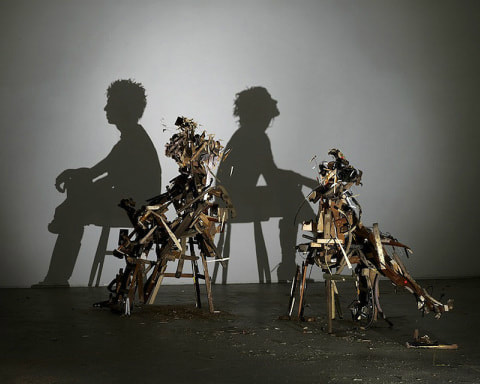
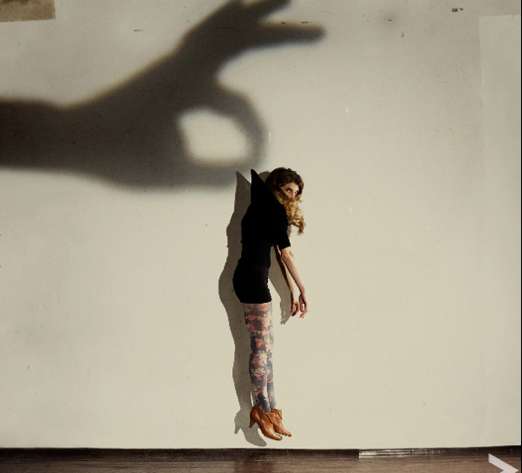
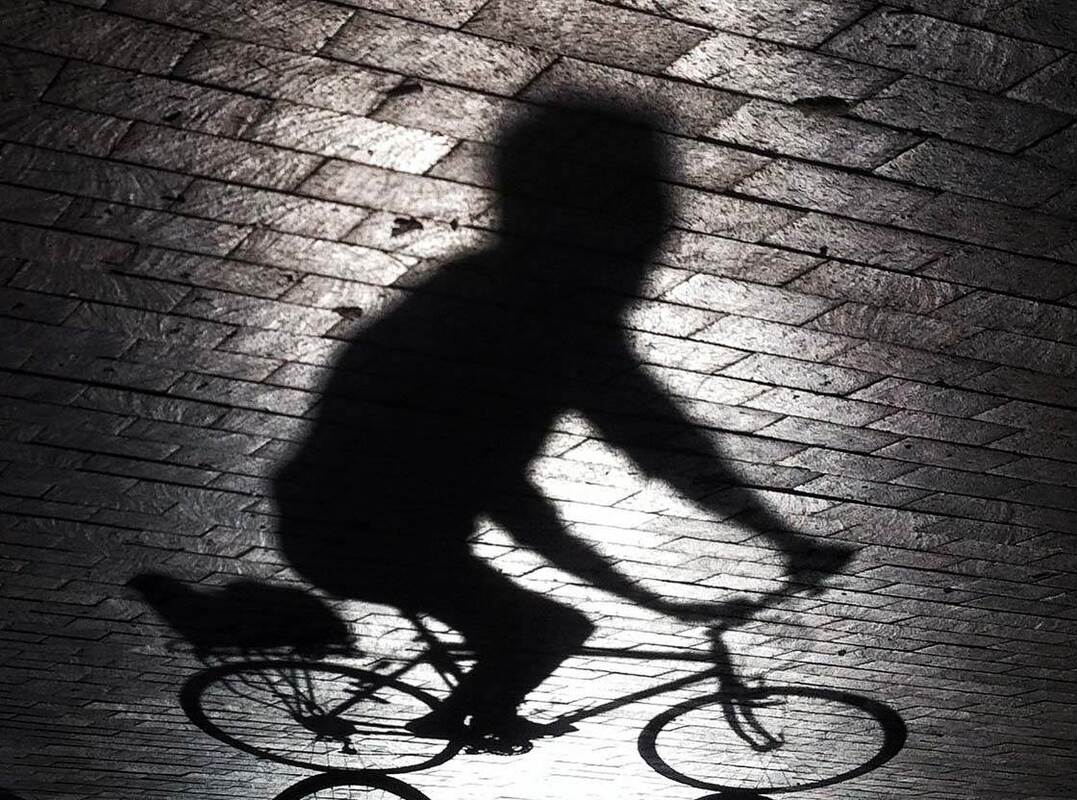
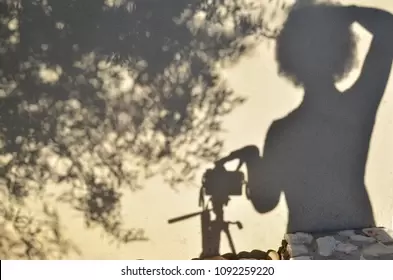
Assignment: For this assignment you will photograph 50 digital frames of shadow art. Consider what you want to create. Do you want interactive shadow art, where the shadow becomes part of the world that the person is interacting with, or even becomes a character that interacts with the physical world? Would you prefer to make shadow art using objects or allow the organic world to naturally create shadow and add to the composition? You can approach this in a few different ways (or all the ways) and make something interesting. Steps: • Start this project on a sunny day...the sun is the easiest way to do this • Walk around your house seeing if there are any interesting shadows that fall across the walls or the floor • Consider making your own shadows and controlling the environment with a strong light source and enlist your friends and family for some help to make these more fun!
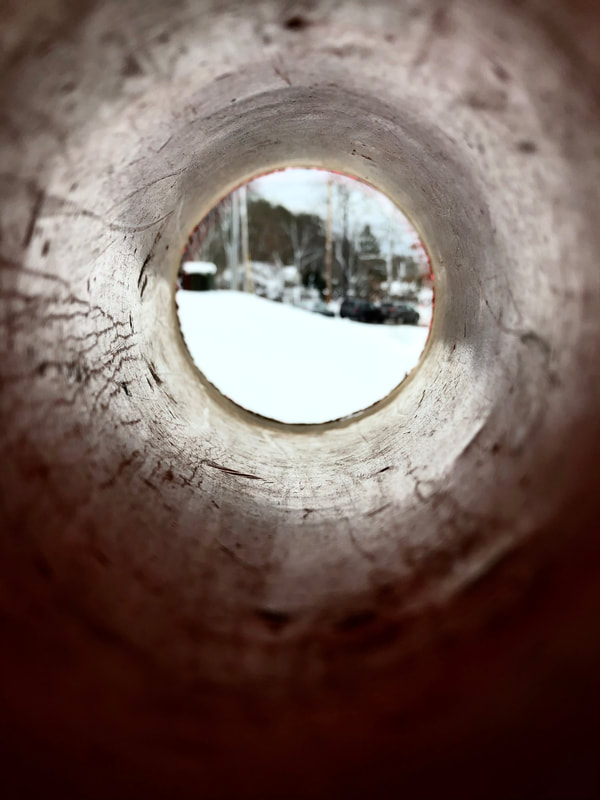
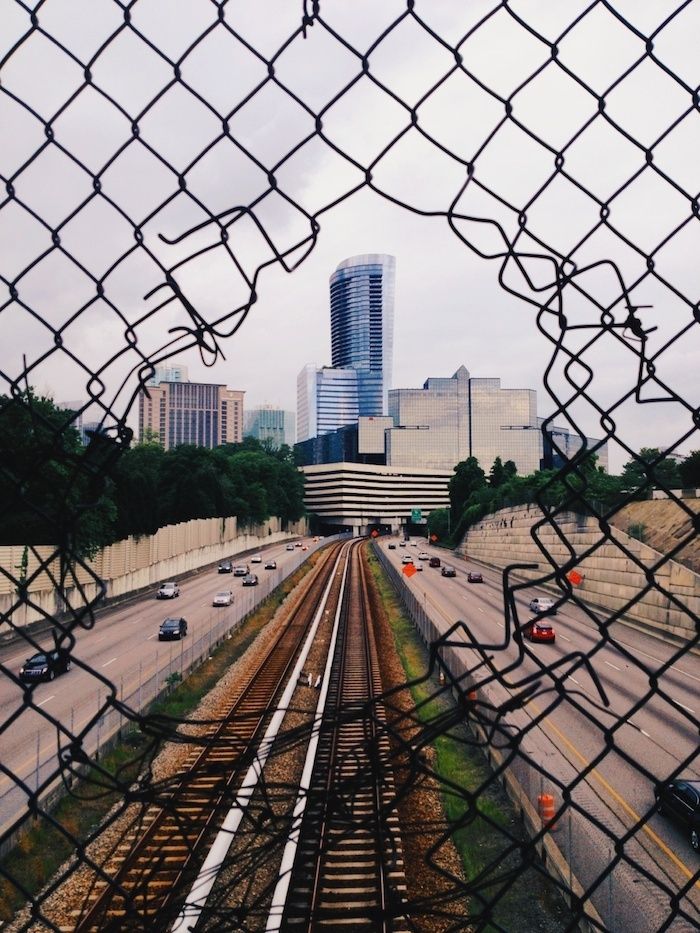
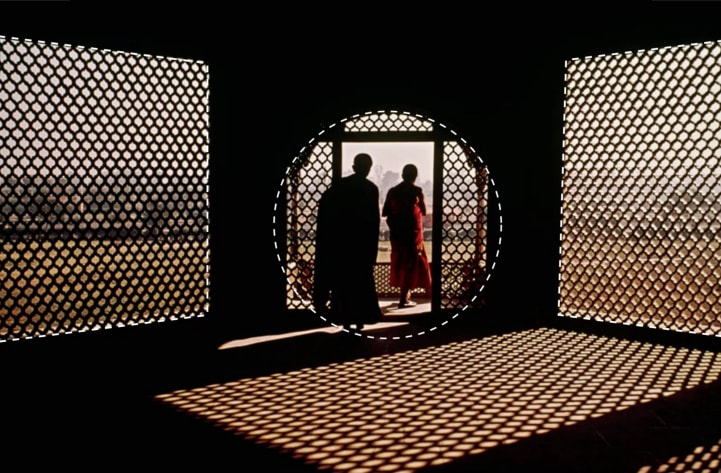
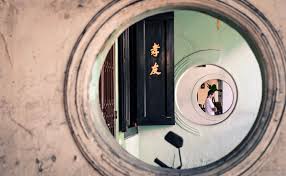
Assignment: For this assignment you will photography 50 digital frame of natural framing. Consider what you are looking through. What about using a pipe and shooting through that? Do you have windows that are interesting and show something curious on the other side? What about a cutout in your wall? Think about how to use your environment to create interest with your framing. Also don't be afraid to make your own frames to shoot through if you are having trouble finding them in the natural environment. Steps: • Start by finding researching interesting natural framing, do you already do this sometimes in your own work? • Walk around your house seeing if there are any interesting objects to photograph through • Consider making your own (or bringing your own) with you to enhance an image
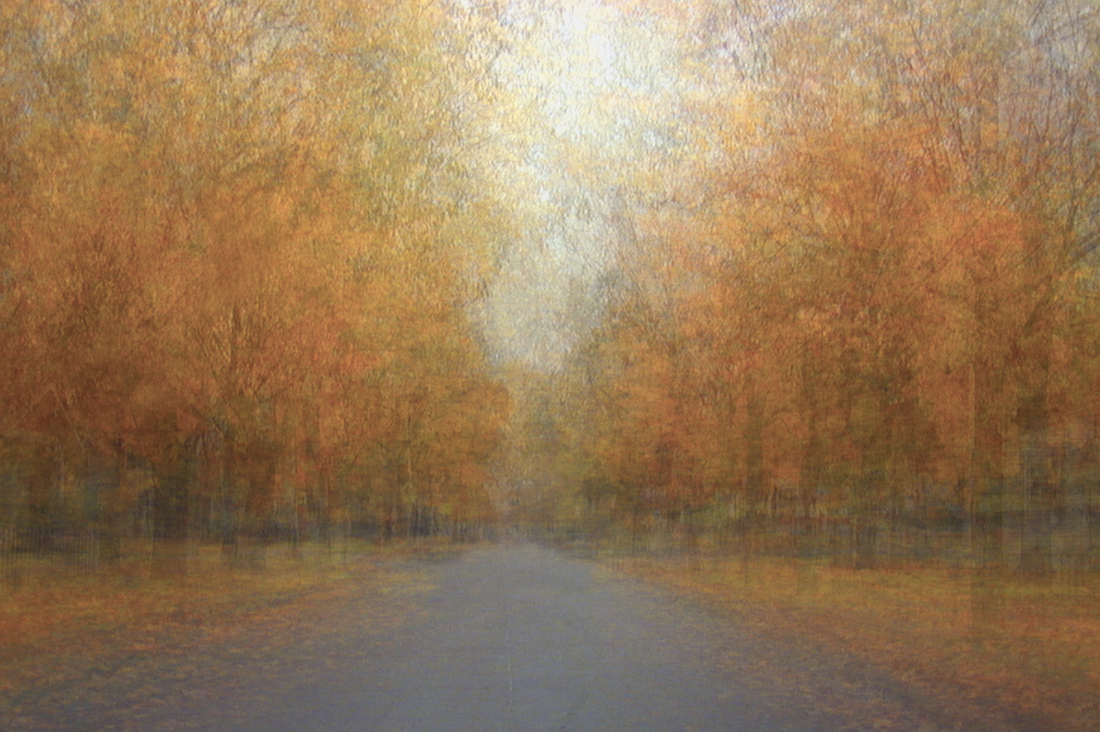
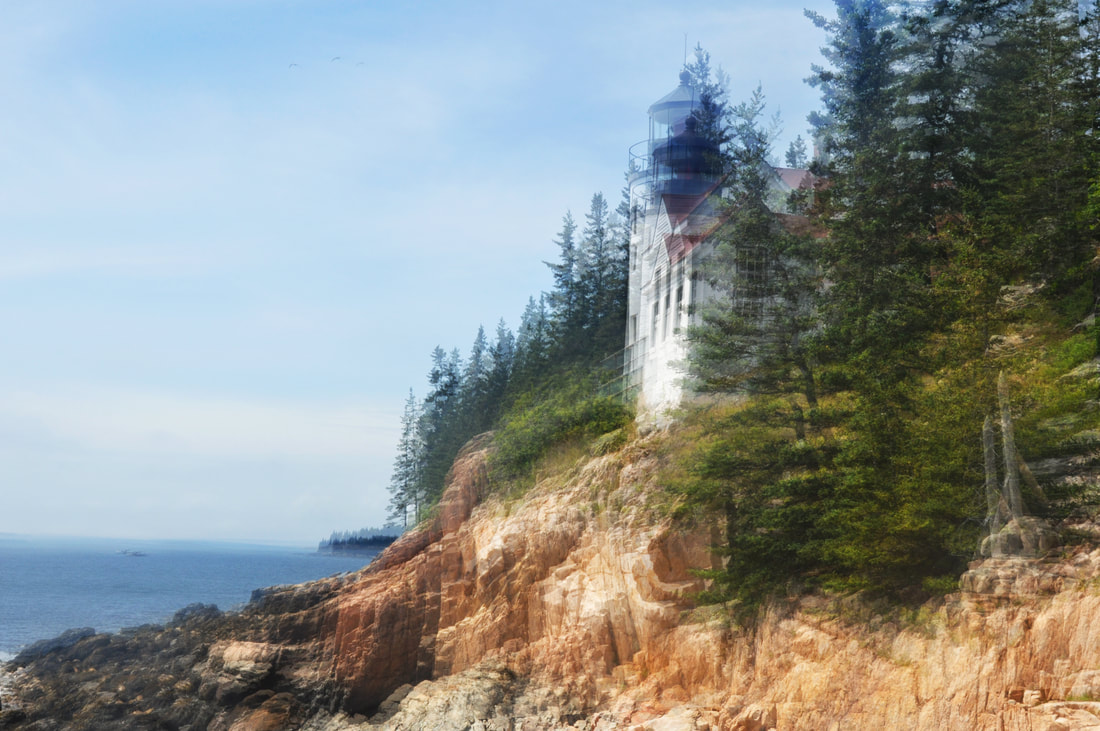
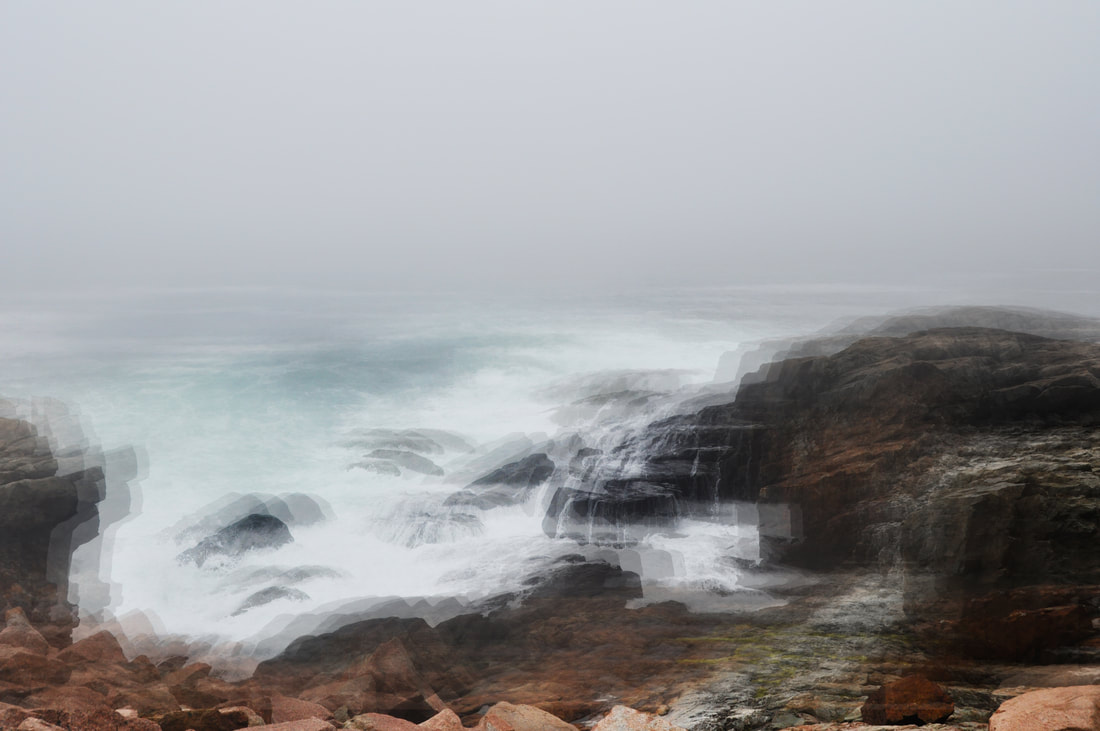
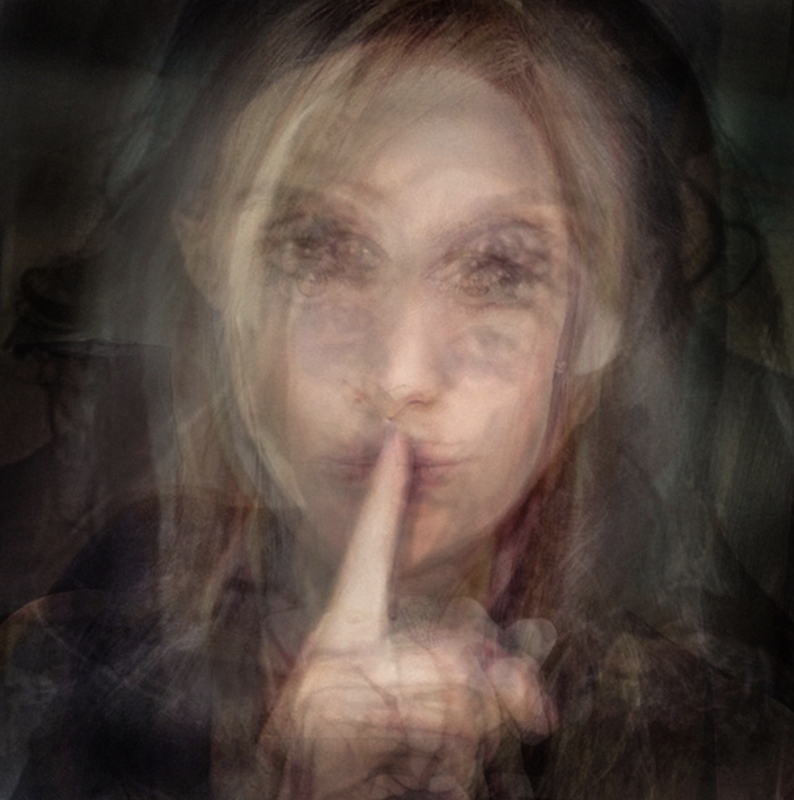
Assignment: Create 3 composite journey images. You can use object, take a walk outside, photograph several portraits in a row, or explore even more conceptual ideas about the passing of time. Remember to take several images that overlap with one another, try 10 images or 50 images...how might more images be interesting? Steps:
Objective: To use separate images (taken over a short period of time) to create the feeling of time and memory. |
AuthorWrite something about yourself. No need to be fancy, just an overview. Archives
February 2024
Categories |


 RSS Feed