Art with Ms. Djordjevic
  • Home
  • Contact
  • Classes
    • Photo I
    • Photo II
    • Photo III :: Semester I
    • Photo III :: Semester II
    • Photo IV :: Advanced Photo
  • Resources
  • Home
  • Contact
  • Classes
    • Photo I
    • Photo II
    • Photo III :: Semester I
    • Photo III :: Semester II
    • Photo IV :: Advanced Photo
  • Resources

Ceramics I

Ceramics is an elective, full year course, designed to let you experience the unique qualities of clay. This studio art course introduces clay as a medium for visual expression in three dimensions. Basic hand-building techniques as well as an introduction to wheel thrown pottery will be experienced. Students will be instructed in a variety of glazing techniques. Demonstration, work and discussion will help you feel confident, as you learn to express yourself in clay.
Ceramics I Course expectations

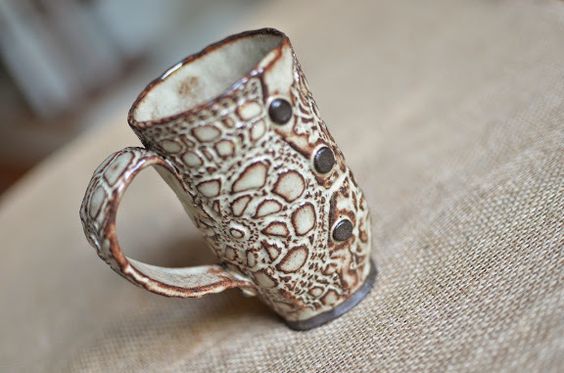
Textured Mug with Handle

9/24/2019

 
Picture
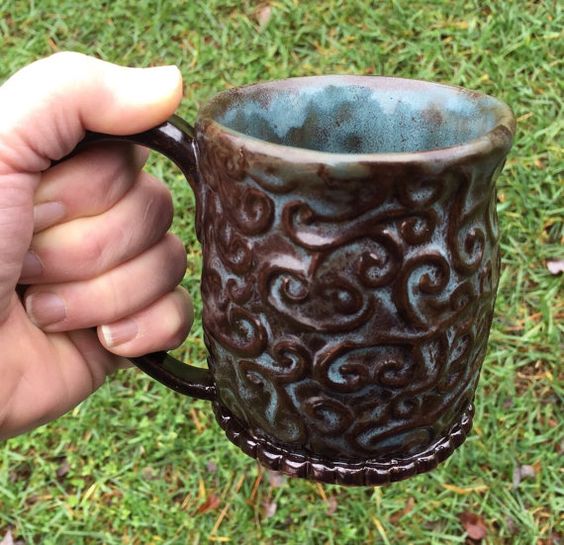
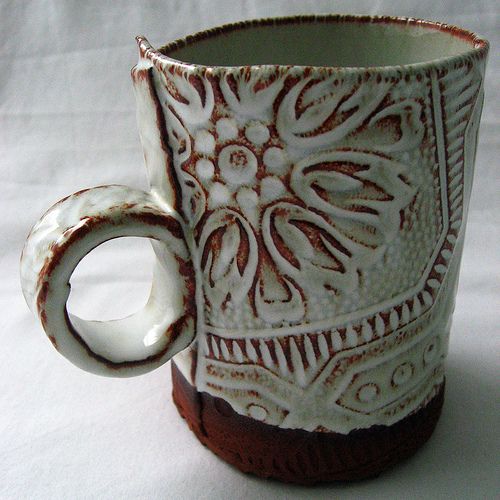
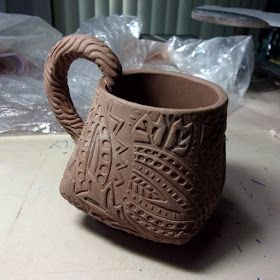
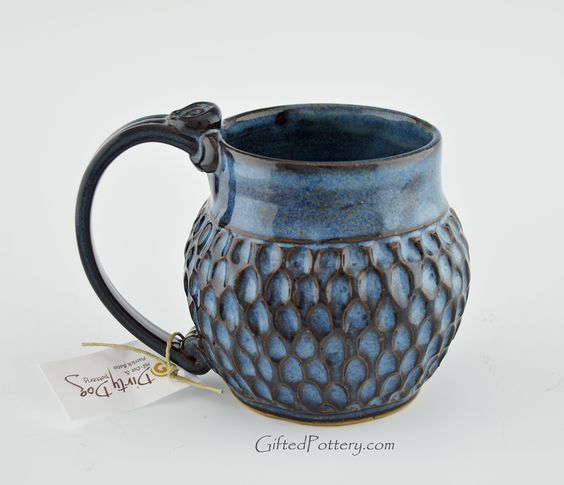
The mug is always an early project in ceramics. Everyone loves a nicely constructed mug and adding texture and interest to the mug helps it to be a fun item in your cabinet, and a great gift to give away. We often think of the mug as a item that is thrown on the wheel, and although I do love a well shaped wheel mug I think the textured and hand-built slab mug is often more fun. For this project we are going to be rolling out slab and adding a texture before we roll it into the perfect mug shape. We will then add a textured handle at the end. 
Assignment:

The assignment is to create a mug with a handle. Rolling your slab to an even thickness is important, and also securing the seam, bottom, and handle using slip. You have the option to make a taller or shorter mug, add a textured foot on the bottom, or leave it flat. 

Steps:

• start making a small container of slip for the construction of your mug
• grab a softball size of clay, make sure to wedge the clay (about 100 times) before you start to make your mug
• you will be rolling out a large piece of slab for the body of the mug, And later one small textured strip for the handle. 
• once rolled out, cut your slab in a long rectangle, use your worksheet to make sure you are cutting the proper size rectangle of clay for the body of the mug. Create a texture in the slab before you start construction of the mug
• Fold your textured slab into a mug shape and score and slip the ends to make a perfect hidden seam (this seam is where your handle will attach so it does not have to be perfect)
​• Cut small triangles in the corner of the clay to fold inward for the bottom of the mug, score and slip to attach the bottom piece of clay to the mug

• roll another piece of slab for the handle, this can be thicker or thinner (1/2" - 1") and should have a coordinating texture
• score and slip the top and bottom parts of the handle, reinforce with some newspaper so it doesn't fall.
​

Objective: To create a mug from slab, and to reinforce seams and attach handles using slip.

Comments are closed.

    Archives

    February 2020
    January 2020
    December 2019
    November 2019
    October 2019
    September 2019

    Categories

    All

    RSS Feed

Proudly powered by Weebly