Art with Ms. Djordjevic
  • Home
  • Contact
  • Classes
    • Photo I
    • Photo II
    • Photo III :: Semester I
    • Photo III :: Semester II
    • Photo IV :: Advanced Photo
  • Resources
  • Home
  • Contact
  • Classes
    • Photo I
    • Photo II
    • Photo III :: Semester I
    • Photo III :: Semester II
    • Photo IV :: Advanced Photo
  • Resources

Ceramics I

Ceramics is an elective, full year course, designed to let you experience the unique qualities of clay. This studio art course introduces clay as a medium for visual expression in three dimensions. Basic hand-building techniques as well as an introduction to wheel thrown pottery will be experienced. Students will be instructed in a variety of glazing techniques. Demonstration, work and discussion will help you feel confident, as you learn to express yourself in clay.
Ceramics I Course expectations

Luminary

1/28/2020

 
Picture
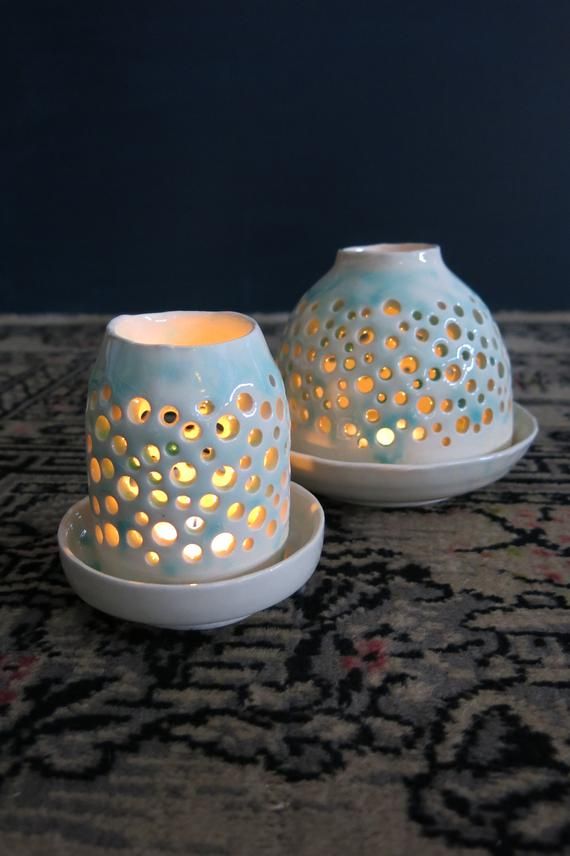
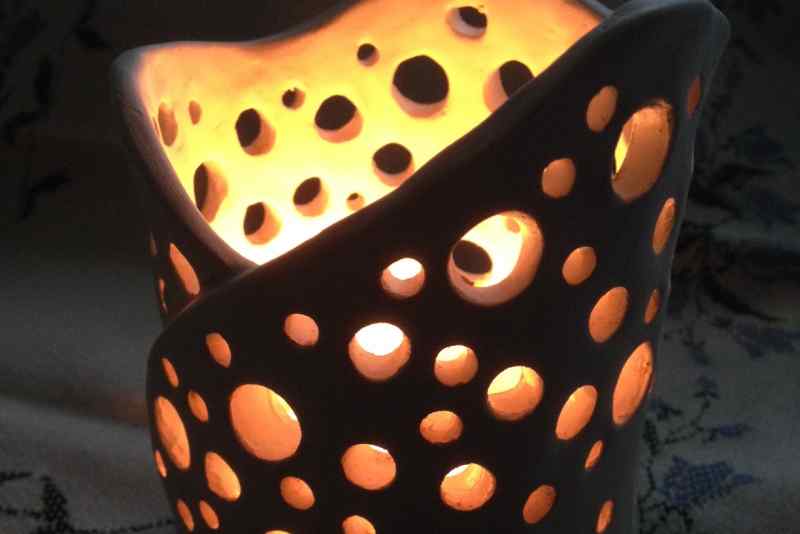
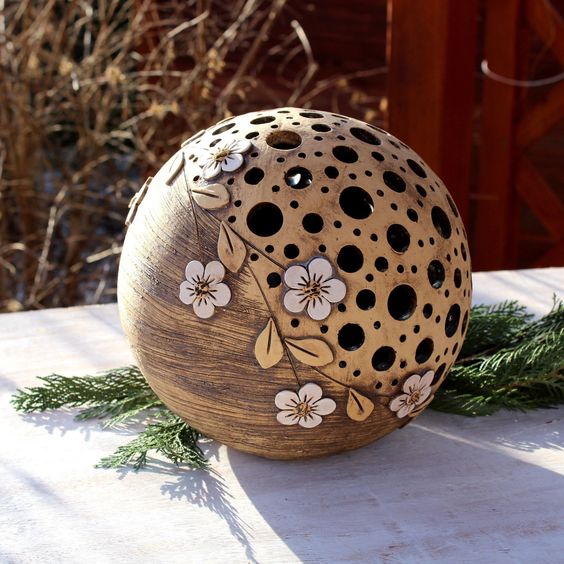
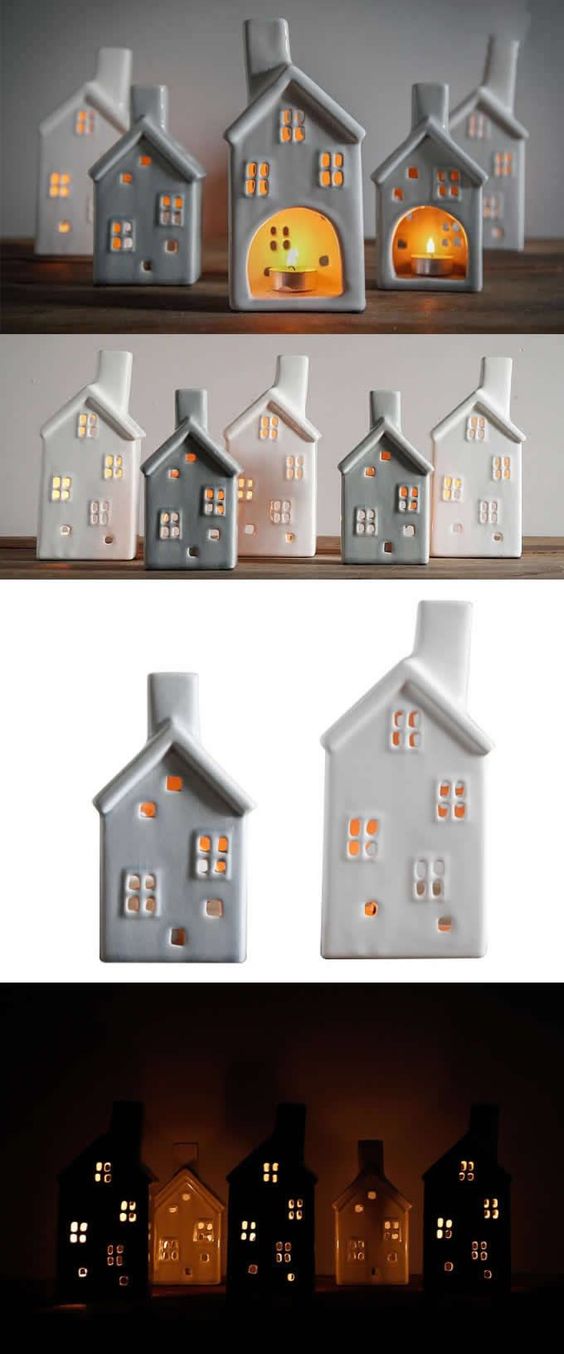
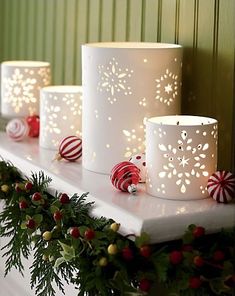
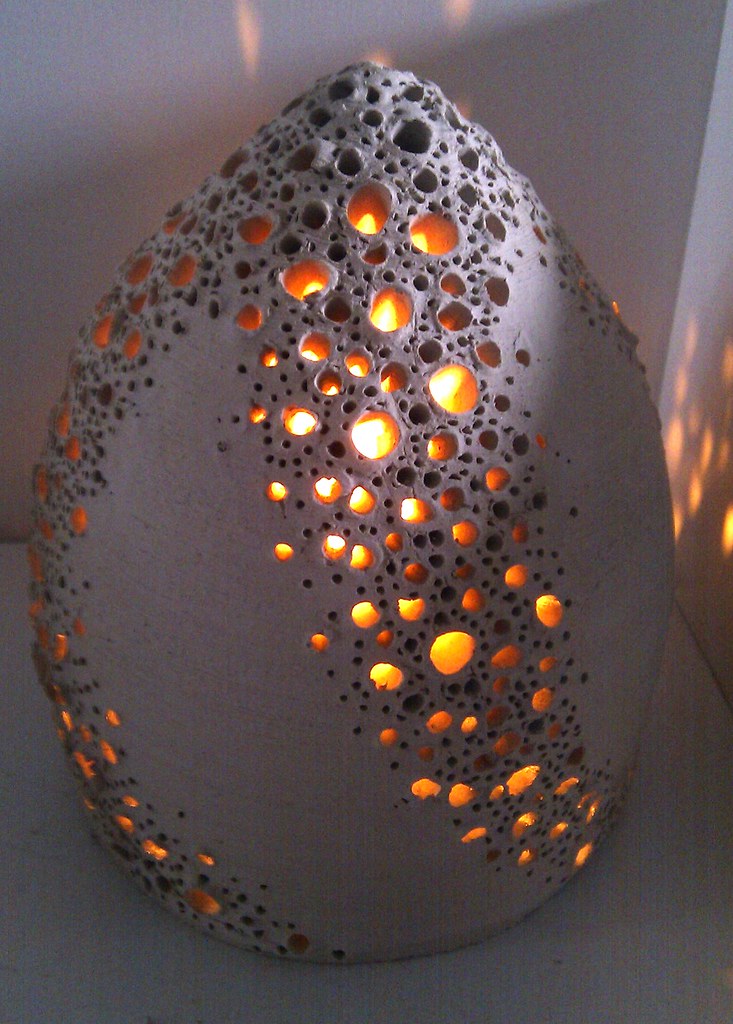
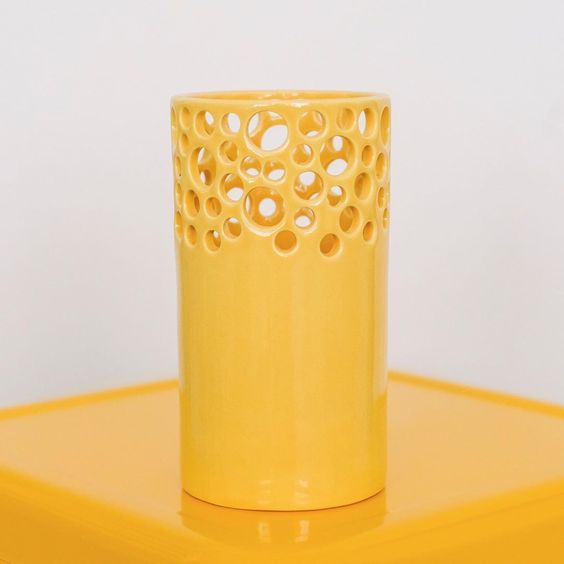
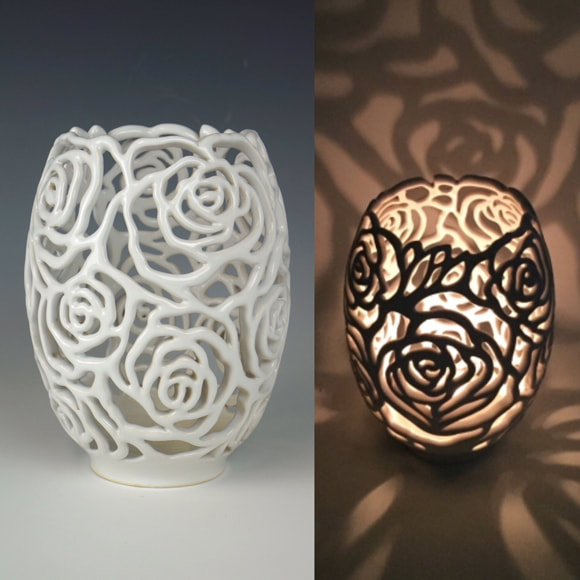
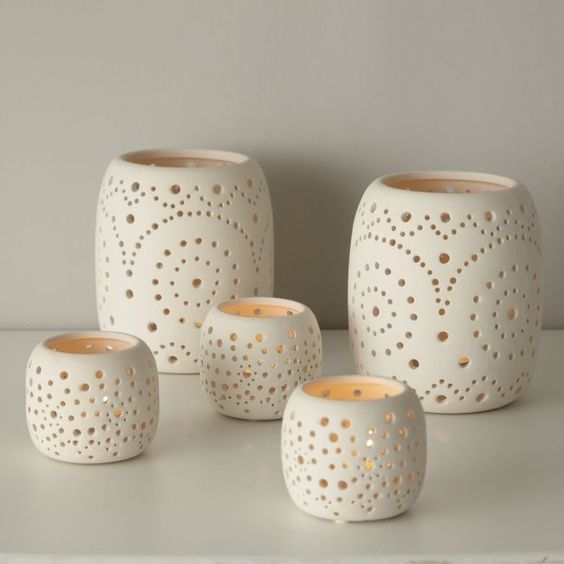
The luminary is a beautiful way to show off your technical skills in ceramics. When lit with a small candle or tea light, these pieces come alive and give a warm glow that eases the mind and enhances cozy feelings. Using either the removal technique, or hand building with slab, you can make a luminary that stands out. These will be glazed both inside and out and will be heat safe for actual use in your home. 
Assignment:

You can start by looking at several different types of luminaries and deciding whether you want something more modern, more traditional, or more whimsical. Either starting with a wedged hunk of clay and digging out the interior to make your walls, or rolling out slab and building from a base (think hard slab box or textured vase) you will then let your piece set to leather hard before cutting from the walls to create the shapes for the light to shine through. You may also add a texture before you carve if you want a more cohesive piece. 

Steps:

• Look on your ipad for inspiration images of luminary candle holders 
• Think of how you will be creating the base for the carving (is it slab work or removal technique)
• If you are adding a blanket texture do this before building
• Create your base piece and let set up to leather hard (DO NOT LET DRY)
• Once piece is leather hard, begin cutting into the clay walls to create the design that the light will shine through, be careful not to break or crack the walls
• Be sure to wrap these well while you are working on them (it will take 2-4 classes to complete)
• Check with me before you let these dry, they may need to dry slowly to avoid cracking and breaking

Ceramics Mid-Year Exam

1/10/2020

 
Picture
For your midyear you will be creating a digital slideshow portfolio of the work you've created thus far in ceramics. Your portfolio should be clean images that show your growth and development with clay. The pieces you choose to showcase should be intentional and display your personal growth as an artist and potter—likely you will be choosing earlier (weaker) projects and culminating in one of your later (stronger) pieces. You will be choosing and photographing 7 of the twelve pieces you've crated thus far. 


Quarter I
- creamer & sugar set
- sconce

- open coil pot
- mug 
- textured vase


Quarter II

- headbowl
- trivet
- decorative tray w/legs
- favorite food
- iconic shape bowl
- pet planter
- narrative plate
Steps:

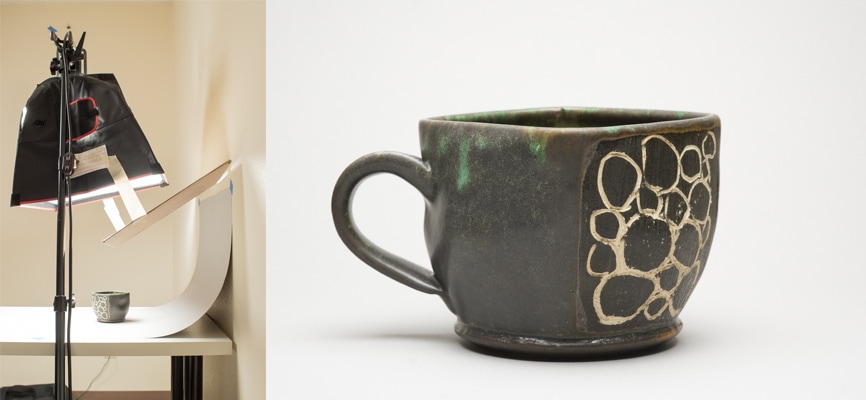
Documenting your Artwork (may need to be done at home if you have taken your pieces home)
  • You must first go through all of your artwork and take high quality photographs of your work.
  • Photos must be edited and organized into a drive folder (you may have 2 or three photos of some pieces to show the piece "in the round")
  • Show me the photos so I can check them for quality​
Picture
Digital Portfolio (to be completed during the exam period)
  • Create a slideshow of your artwork that you created this year. You may use google slides, FlowVella, Canva, Adobe Spark or another app of your choice ( just make sure that it can be turned into google classroom)
  • The slideshow must include the following: 
    • ​Cover page with your name and thumbnail images ( this should be created in a collage app and put together in a pleasing manner using the elements and principles of design)
    • High quality photographs of your artwork
    • Each piece should include the glaze you used (look through the glazes and make an educated guess if you did not write it down). This is also a reminder that you NEED to write down your glaze choices. 
    • A high quality ARTIST STATEMENT to include at the end of your presentation. Read and complete “ How to Write an Artist Statement”. Your artist statement should describe what you learned this year, your development as an artist and highlight the pieces when you felt a significant amount of growth and development.
  •     You must turn in the assignment through google classroom

Optional:
You may include music, or voice over of you describing the artwork (this will count for extra credit)

Grading Criteria:
  • 20%  Cover page
  • 20%  Visual impact
  • 20%  Layout and Design of Presentation
  • 20% Quality of photographs
  • 20%  Essay- Artist Statement


    Archives

    February 2020
    January 2020
    December 2019
    November 2019
    October 2019
    September 2019

    Categories

    All

    RSS Feed

Proudly powered by Weebly