Art with Ms. Djordjevic
  • Home
  • Contact
  • Classes
    • Photo I
    • Photo II
    • Photo III :: Semester I
    • Photo III :: Semester II
    • Photo IV :: Advanced Photo
  • Resources
  • Home
  • Contact
  • Classes
    • Photo I
    • Photo II
    • Photo III :: Semester I
    • Photo III :: Semester II
    • Photo IV :: Advanced Photo
  • Resources

Ceramics I

Ceramics is an elective, full year course, designed to let you experience the unique qualities of clay. This studio art course introduces clay as a medium for visual expression in three dimensions. Basic hand-building techniques as well as an introduction to wheel thrown pottery will be experienced. Students will be instructed in a variety of glazing techniques. Demonstration, work and discussion will help you feel confident, as you learn to express yourself in clay.
Ceramics I Course expectations

Pet Planter

11/19/2019

 
​
Picture
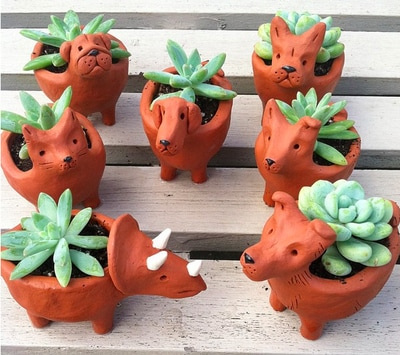
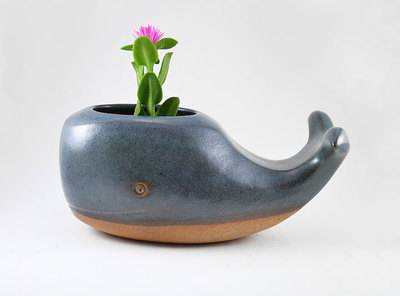
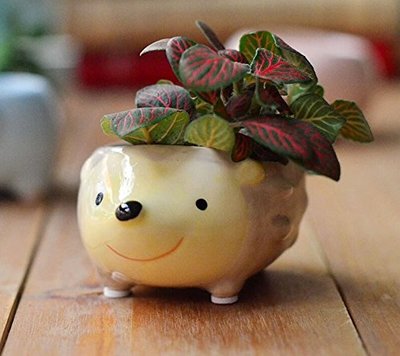
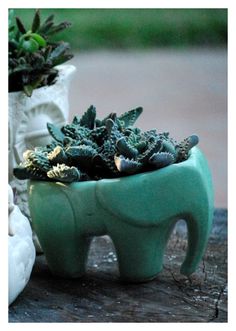
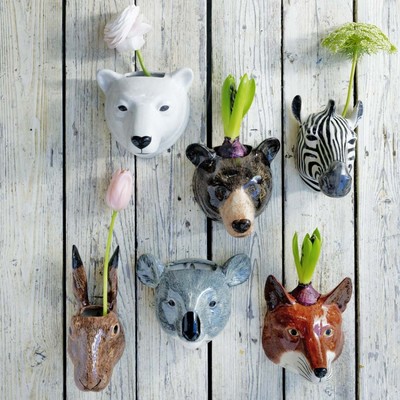
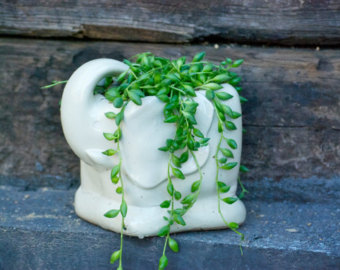
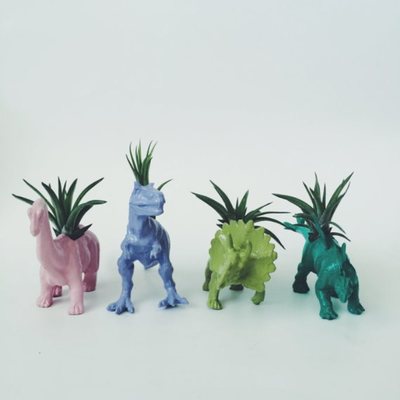
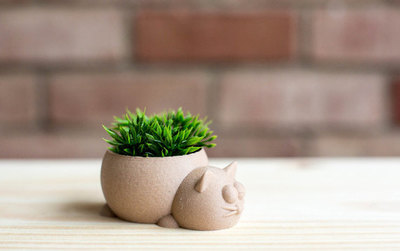
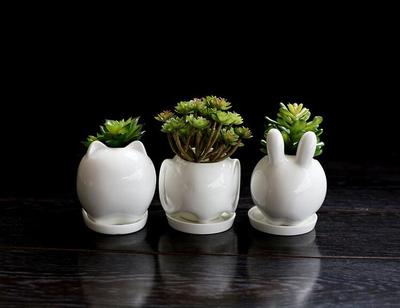
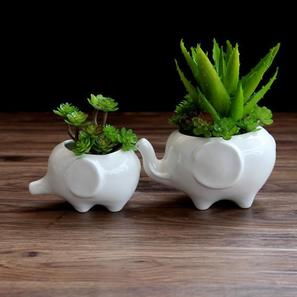
For this project we are going to be making an animal planter. This planter should be fairly small (to hold a 3" succulent or some wheat grass) and will likely have a small hole in the bottom to allow drainage so it is actually a useful piece. You can choose to create a likeness—either realistic or more of a caricature—of your own pet or create an animal that you adore (think elephants, dinosaurs, and giraffes). 
Assignment:

You may create one major planter, or a series of very small figurine planters for this project (think of a small family of animals). These will be glazed so they can be actually used as planters, but you can choose to glaze with clear to keep the natural state of the clay body if you wish.

Steps:

• Research photos of your chosen animal(s). Keep in mind whether you are choosing to create realistic or more cartoonish likeness of your animal or pet
• Create a pinch pot—the size of your clay will depend on how large you want your planter to be
• The body of your pet will be the pinch pot and you will likely be slipping and scoring on faces/ears/tails/ears, etc.
• Don't shy away from texturizing your pot either with some of our texturizing tools or by carving into the body (dry point)
• Don't forget to poke a smallish hole in the bottom of the pot so the water can drain. Maybe the size of a hole punch.

Comments are closed.

    Archives

    February 2020
    January 2020
    December 2019
    November 2019
    October 2019
    September 2019

    Categories

    All

    RSS Feed

Proudly powered by Weebly