Art with Ms. Djordjevic
  • Home
  • Contact
  • Classes
    • Photo I
    • Photo II
    • Photo III :: Semester I
    • Photo III :: Semester II
    • Photo IV :: Advanced Photo
  • Resources
  • Home
  • Contact
  • Classes
    • Photo I
    • Photo II
    • Photo III :: Semester I
    • Photo III :: Semester II
    • Photo IV :: Advanced Photo
  • Resources

Ceramics I

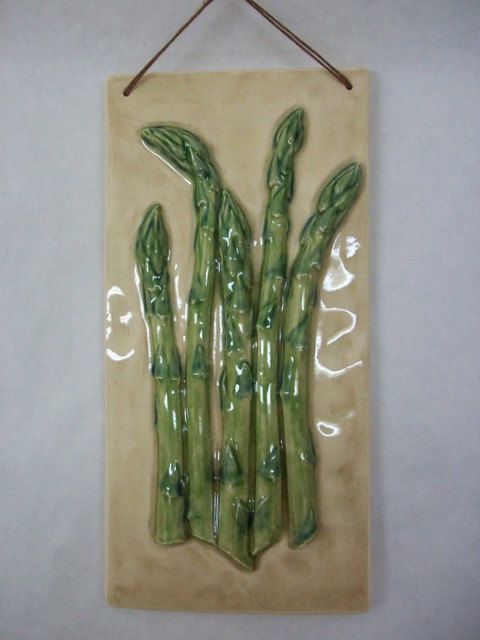
Ceramics is an elective, full year course, designed to let you experience the unique qualities of clay. This studio art course introduces clay as a medium for visual expression in three dimensions. Basic hand-building techniques as well as an introduction to wheel thrown pottery will be experienced. Students will be instructed in a variety of glazing techniques. Demonstration, work and discussion will help you feel confident, as you learn to express yourself in clay.
Ceramics I Course expectations

Narrative Relief Sculpture

12/5/2019

 
Picture
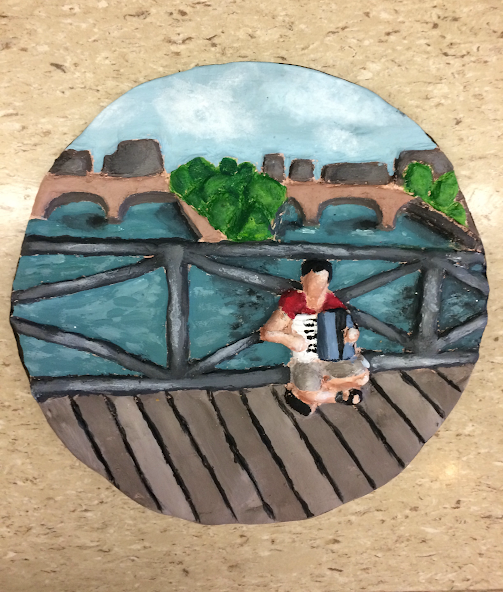
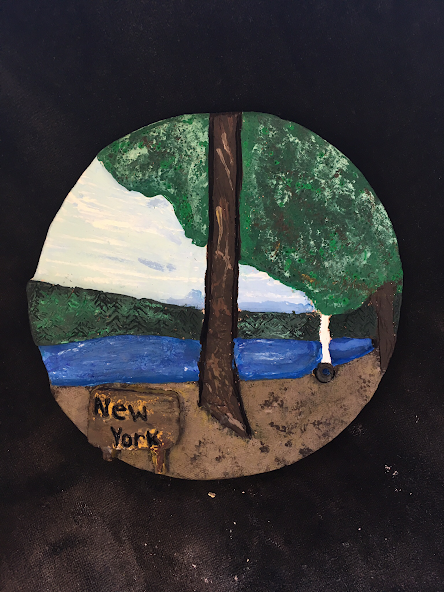
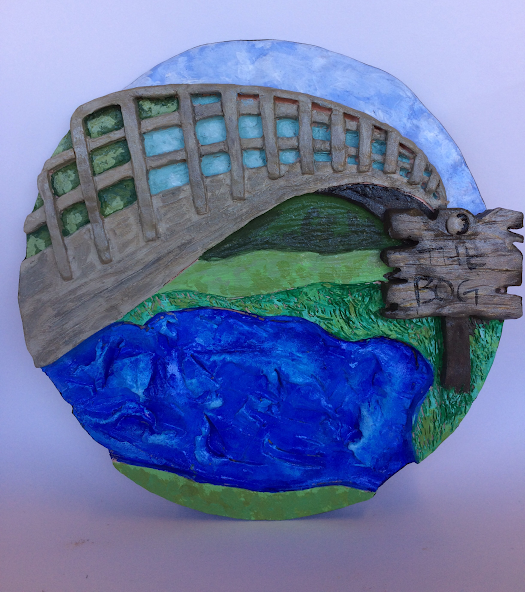
For many years people have been telling stories through sculpture and ceramics. A narrative plate can be done one of two ways—one is by carving into the flat plate (relief) and the other is to build on top of the thinner plate (build). These narrative relief sculptures will be based on a favorite photo from a favorite place, you can embellish though as well. 
Assignment:

You can start with a rectangle, square, or circle shape. This will be one thick "slice" of clay to start, and then we will be carving away clay to create the image. There will be three or more levels to clay, foreground, middle ground, and background. The background will be the deepest carve, the foreground will not be carved at all (but may be marked). Once these are bisque fired you will be painting them, not glazing them, to make the image more realistic.

Steps:

• Look on your phone for favorite photos from favorite places, think about how you will recreate the image that you choose so don't choose something with too many details (but no details is also difficult)
• Copy your image onto a piece of scrap paper before you start with clay
• Once you are happy with your thumbnail image you can cut a thick slice of clay in the shape you prefer
• Start by copying (or tracing) the paper copy onto the clay before you start carving
• Once you have an outline you can begin carving—keep in mind that we need to carve the background first (the deepest) the middle ground second (less deep), and the foreground will stay the same height as the original slice of clay
• Be sure to wrap these well while you are working on them (it will take 4-6 classes to complete)
• Check with me before you let these dry, they may need to dry slowly to avoid cracking


Comments are closed.

    Archives

    February 2020
    January 2020
    December 2019
    November 2019
    October 2019
    September 2019

    Categories

    All

    RSS Feed

Proudly powered by Weebly