Art with Ms. Djordjevic
  • Home
  • Contact
  • Classes
    • Photo I
    • Photo II
    • Photo III :: Semester I
    • Photo III :: Semester II
    • Photo IV :: Advanced Photo
  • Resources
  • Home
  • Contact
  • Classes
    • Photo I
    • Photo II
    • Photo III :: Semester I
    • Photo III :: Semester II
    • Photo IV :: Advanced Photo
  • Resources

Ceramics I

Ceramics is an elective, full year course, designed to let you experience the unique qualities of clay. This studio art course introduces clay as a medium for visual expression in three dimensions. Basic hand-building techniques as well as an introduction to wheel thrown pottery will be experienced. Students will be instructed in a variety of glazing techniques. Demonstration, work and discussion will help you feel confident, as you learn to express yourself in clay.
Ceramics I Course expectations

Open Form Coil Pot

9/27/2019

 
Picture
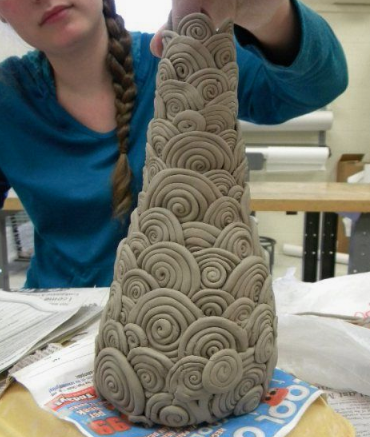
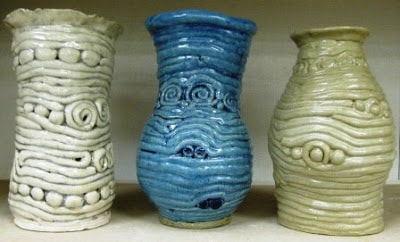
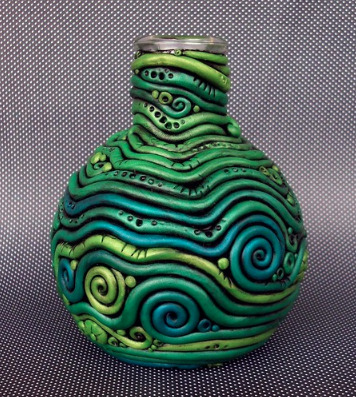
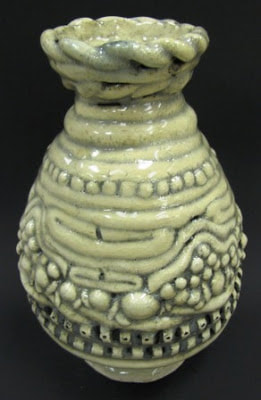
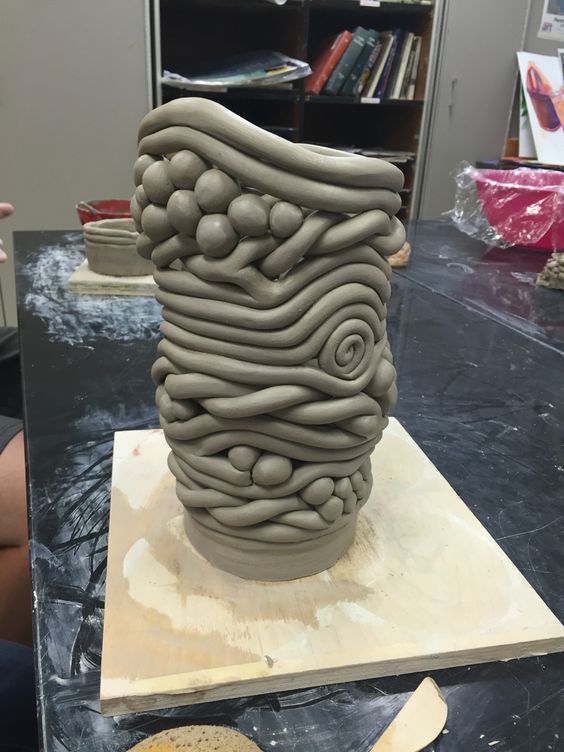
The coil is a clay favorite. Coils allow us to make our pieces larger being that it is a slow building process that is reinforced by slip in between each layer. These take on a very organic shape and feeling and the more varied the coil shapes and sizes the more interest you add to the overall piece. These are going to be open form, meaning they don't have to be closed and hold water, they are more decorative in nature.
Assignment:

The assignment is to create a open form coil pot with even thicknesses on the coils.  We usually base this off of the paper towel roll size but you can eventually start to allow it to make it's own shape (as long as that shape is not the leaning tower of pizza). 

Steps:

• grab a small tennis ball size of clay, make sure to wedge the clay (about 100 times) before you start to make your coil pot
• use a paper towel roll as the template for the size of the coil vase and base of the piece. 
• start with a piece of slab (can be hand made) that is the size of the bottom of the paper towel roll, this is your base.
• then make a small carrot size piece of clay to start rolling out your coil snake, roll from the palm of your hand through to your spread out fingertips to make the best rounded coil. Watch when your coil becomes flat and pay extra attention to those areas.
• coil thickness is up to you but make sure it is even from middle to the ends
• score the sides of the base and one side of your coil, add slip and start building one single layer at a time (DO NOT coil around from the bottom and build many layers without stopping, this will result in a lop sided piece)
• score and slip between each layer of coil, and have fun with your coils, different shapes and sizes are more fun

​

Objective: To create a tall coil vase by rolling coils and building layer by layer. 

Comments are closed.

    Archives

    February 2020
    January 2020
    December 2019
    November 2019
    October 2019
    September 2019

    Categories

    All

    RSS Feed

Proudly powered by Weebly